Friday, February 20, 2015

Tanriverdi Falls

Hiked: 2/20/2015
Distance: 7.3 miles round trip on trail and cross country
Summit Elevation: 3342' (high point at trailhead)
Elevation Gain: 1331' (loss then gain)
Elevation Gain (in Empire State Buildings): 1.06
Round trip time: 7 hours
Recommended water: 124 oz.
Parking/Fees: Adventure Pass
Difficulty: Very Strenuous and Dangerous

Tanriverdi Falls (or Tanrierdi) is one of the crown jewels of the Santa Ana Mountains, and probably seen by only a handful of people each decade. There is no easy way to get there. I considered the long approach from the bottom of Hot Spring Canyon, coming from Chiquito Basin (heavy poison oak), Los Pinos ridge, and the north ridge of Old Sugarloaf, but decided descending from the top of the canyon was still the best. Note: canyoneering site ropewiki also refers to this as Salamander Canyon. Jerry Schad's Afoot and Afield in Orange County covers the hike from the bottom, a 10 hour round trip according to his write up. It also covers the hike to the second waterfall from the top, but not the wild mid-canyon section below it. Here is a part of his description:
Being in excellent physical condition, having considerable experience in cross country travel over rugged terrain, and possessing good judgement do not automaticaly guarantee that you'll be able to reach the falls and return without mishap. You must be cautious, patient, and determined too. Hazards include slippery rocks (some concealed by leaf litter), prickly vegetation, and literal forests of poison oak.
I had hiked to the second waterfall in 2013 and scouted above it. The difference this time was the conviction to make it to the big falls. I would not recommend making an attempt without conviction. It is difficult and dangerous and for about an hour I was genuinely concerned that I would not make it out.


North ridge of Old Sugarloaf clogged with chaparral (scouted by Gimpilator, thanks!)

Long Canyon Road was open again and the first part was newly paved and smooth. I parked at the Falcon Campground and got ready for a fight. The pants, shirt, and socks I had on had been treated with Permethrin, a kill-ticks-on-contact chemical that you aren't supposed to spray on while wearing the clothes being treated. Serious chemical warfare. I added long gaiters, gloves, and a fleece for more brush protection. The easy part of the hike to the second falls was familiar and went quickly. I found 5 ticks on me getting to the second falls, the last one seemed to drop off on its own. The permethrin may have killed it. I decided to call the second falls "Gut Check Falls", because nothing comes easy after that. For the other falls, I used the names from the canyoneer trip report on Summitpost.org, matching up what I saw with their pictures and descriptions as well as I could. Most of the rocks in the canyon are worn as smooth as glass from the water so down climbing big falls was a non-starter. I followed a faint use trail on the right to bypass "Gut Check" and thought about descending back to the canyon, but I knew the "Single Track Falls" bypass would be required almost immediately so I stayed high on the wall trying to follow the occasional animal trail. This was very difficult as the brush got thicker. I traversed across a side canyon looking for a way to descend. I found a way to the bottom of the side canyon, then fought through hellish brush to get back to Hot Spring Canyon. What made the bushwhacking so bad was not just the native growth, but the years of run off that filled the side canyon. Small trees, boulders, and debris mixed with the native plants to create an unholy jumble. I used the machete to hack some areas, but overall, it was a negative, getting caught on things as I tried to pass under. The tick problem went away, probably because I was in such dense brush that the deer were not stupid enough to wade through. No deer, no ticks.


Algae in the canyon


Upper Hot Spring Falls


Easy obstacles at the start


Gut Check Falls (2nd falls)


Top of Single Track Falls


Bottom of Single Track Falls (from high on the wall)


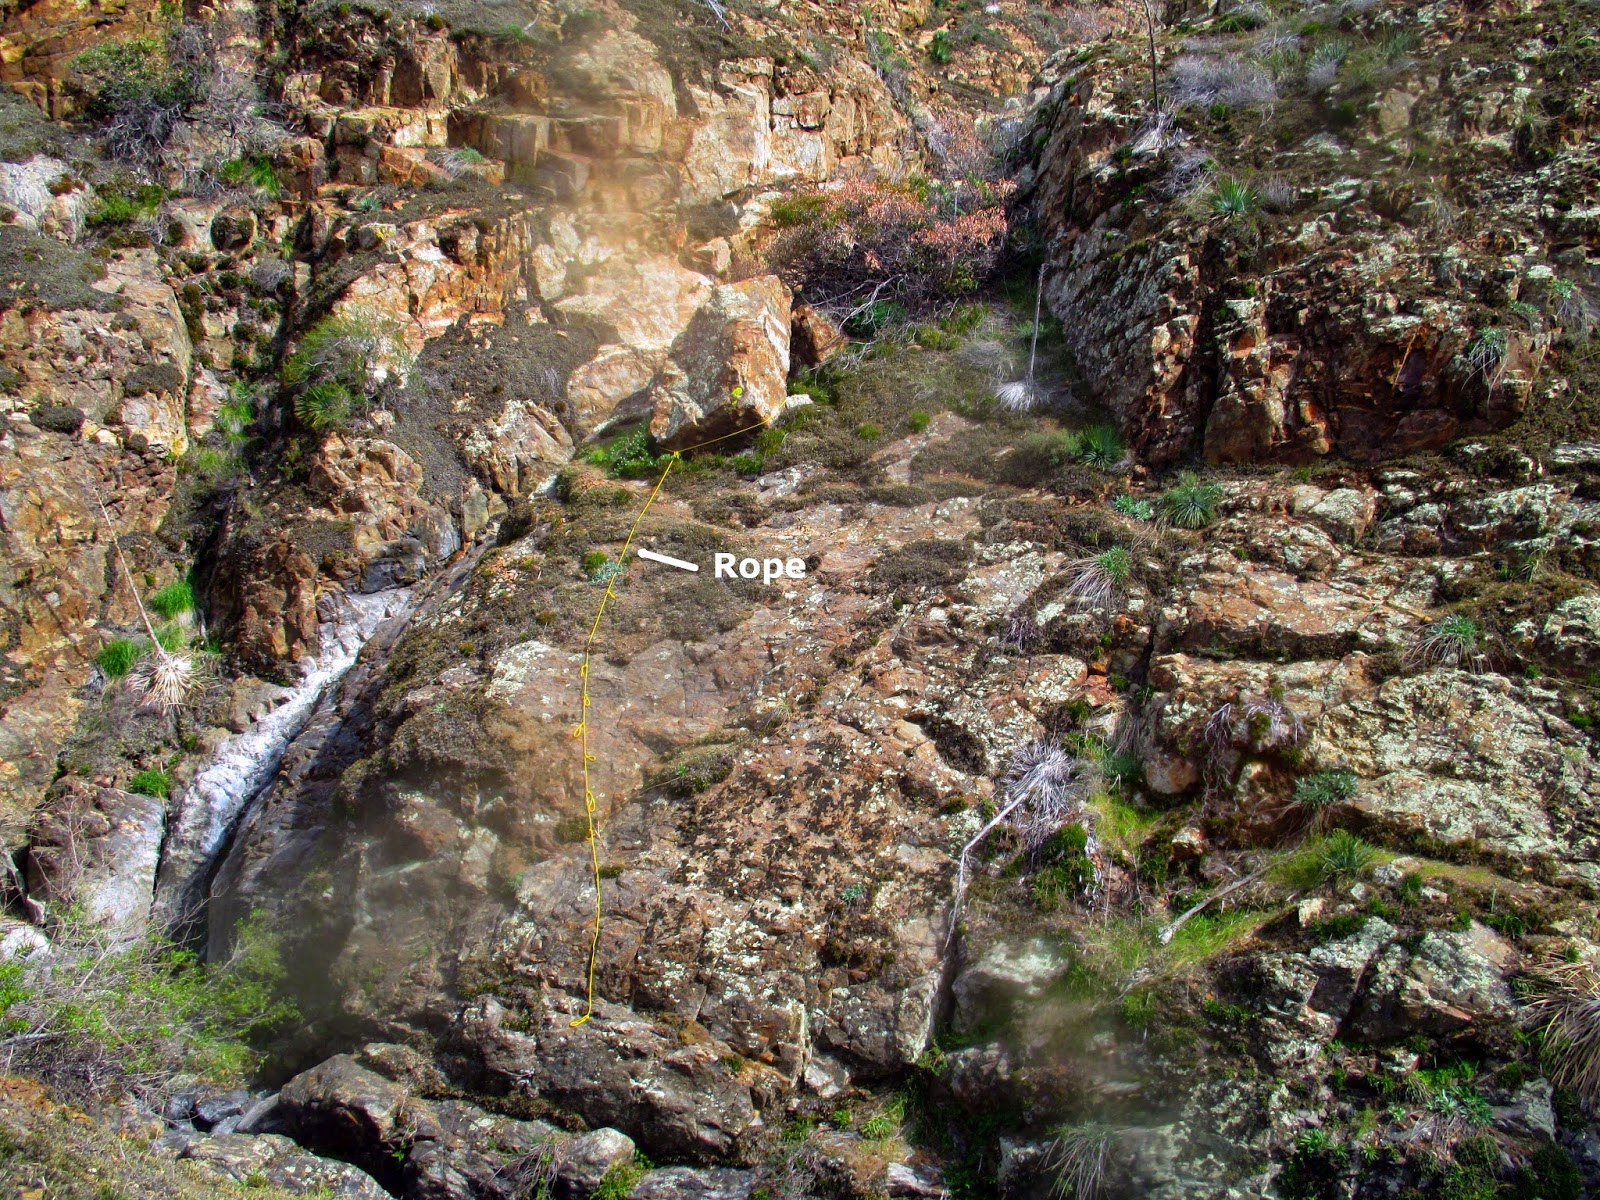
On the way back, I spotted this fixed rope on a boulder below Single Track Falls. I was not sure I could trust it, and not sure I could make it past the falls even if I made it to the boulder, so I continued up the canyon wall on the left.

Once I was back in the right canyon, I started running into large patches of poison oak, a lot of it I could not avoid. Most of the other large waterfalls I encountered had some kind of bypass on the left or right, but for some I had to force my way up the canyon wall, often with class 3 scrambling, and back down. I was now moving at a crawl, about 1/2 mile per hour. The route finding was very difficult. For each bypass I found, I thought about turning back, wondering if I could reverse my path on the return. But I kept going, hoping each new waterfall would be Tanriverdi Falls. Finally, the canyon started to clear out a little and I could sense Tanriverdi was near. It was quite a thrill to reach it, even though only a trickle was flowing over. I had to find one final bypass to get around a 20' waterfall I dubbed "Preview Falls" just before the big 160' drop. There is another drop on the bottom tier. I found the webbing left behind by the previous canyoneers around a boulder, used to make the huge rappel. I took photos, ate something, then started thinking about getting out. It had taken me 3.5 hours to reach the big falls, and I expected it to take at least as long to get out.


Tangled brush I swam through to get back to the main canyon


Sled Falls with a fixed rope


Top of Dread Lock Falls


Bottom of Dread Lock Falls. The image is blurred from debris and sweat on the lens.


Ohh Baby Pool


Had to jump across here, bypass shown on left


BJs Landing


Final 20' waterfall before Tanriverdi


Tanriverdi Falls


Webbing used by canyoneers to rappel Tanriverdi


Presenting the big falls


You know I've been to the edge, there I stood and looked down


Broken trekking pole, how I felt after the hike

I was not happy with the bushwhacking I had to do coming down, so I decided to stay in the canyon as much as possible on the way back. This meant dealing with even more poison oak, which was not growing on the walls. I am pretty sure I was slapped in the face by some poison oak vines on the way out. I scrubbed my face with cold water and Technu as soon as I got home, but time will tell if I have to cope with that. I was pleased that I found the bypasses on the way back that I had figured out on the way down. Of course, I eventually ran into some waterfalls where I had to fight up the canyon walls again, but in a decidedly different place than before. I climbed as high as I needed to feel safe before traversing across the side canyons and continued following any faint animal trail I could find. I checked my GPS to see if I had passed Gut Check Falls and saw that it was about 0.2 miles upstream.

Here is where things went sideways. At my location on the wall, the chaparral was nearly impassable. I looked for a lower animal trail and would struggle down to it only to find it quickly ended in another impassable snarl. Then, I fought up again only to be blocked. This happened several times before I got concerned. I didn't seem to have any way forward. With my energy draining quickly, I decided my only option was to get back to the canyon floor and hope I didn't cliff out. The brush was worse than the hellish mix I faced on the way down. The machete would not have been effective against the small trees I faced. I could not take useful steps so I essentially somersaulted over the top crashing into wherever I landed. The wall was steep so I had to be careful to not tumble over the edge. This was effective at getting out of the worst of it and as I neared the edge, I was lucky to find a way to down climb to the canyon floor. I thought I would have to face at least one more bypass but soon it became clear that I had emerged above Gut Check Falls and would have an easy climb out. I was quite a mess at this point, bleeding in at least 7 places. I felt bruised on all limbs and had multiple hits from yucca and random thorns. As I was almost out, I met three hikers heading down who asked me if they were almost to the waterfall. I told them there were at least 9 waterfalls, but they should stop at the second. I hope they took that advice.

This was the toughest route finding I have ever faced, the nastiest bushwhacking, and probably the most dangerous hike I've ever done. Was it worth it? Maybe, but only because I got out alive. Looking back, there are two things I would have done differently. One, I would get back in the canyon right after Single Track Falls. Two, I made a mistake staying on the wall too long on the way back. Eliminating those two mistakes would have made my life much easier. Fair warning, I still can't recommend this hike, unless you crave danger with a side of masochism. It is probably easier to rappel down many of the falls than bypass them, so come get it, canyoneers. I am done.

Update 2/26/2015: Despite my precautions, I am nursing several poison oak rashes. Both wrists where skin was exposed between my gloves and shirt sleeve, a small section on my lower back, one spot on my neck and my right ear.


See Also:
Salamander Canyon (ropewiki)
Woman Dies in Fall from Remote OC Waterfall
Montclair woman identified as rock climber fell to her death

Friday, February 13, 2015

Buzzard Peak

Hiked: 2/11/2015
Distance: 3 miles round trip on trail
Summit Elevation: 1375'
Prominence: 380'
Elevation Gain: 790'
Elevation Gain (in Sears Towers): 0.63
Round trip time: 50 minutes
Recommended water: 16 oz.
Parking/Fees: Free on Grand Ave
Difficulty: Easy

Buzzard Peak is the high point of the San Jose Hills just south of I-10 in the Walnut/Diamond Bar area. It also overlooks the Kellogg campus of Cal Poly Pomona. I had attempted to hit Buzzard Peak on 2/6/2015 prior to visiting Vulture Crags (sticking with the scavenger theme), but was thwarted by private property issues from the south on E. Seton Hill.

Satellite research revealed a well defined use trail on the north side starting on Martingail Road. For my second attempt, I headed toward that trail but discovered it is in a gated and guarded subdivision. The guard directed me to a nearby horse trail that he said led to the peak. I followed the horse trail until it became a road that vanished into knee high green foliage. I continued cross country for about a mile before concluding that access was not possible this way without trespassing, so I turned around. On the way back, I remembered a possible access trail on Grand Ave and drove around to the south side to see if I could find it. I located it with a legitimate looking trail sign and parked on the opposite side of Grand, sprinting across as traffic allowed. The sign labelled it as the Schabarum trail.


Trailhead along Grand Ave in Walnut


Lots of green near the start


Tipis

I didn't bother with a pack, only one water bottle and the GPS. The trail starts as a single track then widens into a dirt road, showing recent use by horses. About a half mile in, another road branches right heading up a different hill, so continue straight. The trail descends to a gully passing two unexpected tipis, then gains elevation again as it meets the west end of Buzzard Peak Road. There is a little poison oak along the sides of the trail, but it is easily avoided. The road climbs up the ridge where you get your first look at Buzzard Peak. I headed up the use trail on the south side of the peak and found a reference mark stamped "Covina" and the benchmark itself stamped "San Jose". No register. There were good views of the local mountains. Without fanfare or a break, I descended the use trail on the north side, then returned along the road. Lacking beta and surrounded by private property, this little peak turned out to be rather expensive in terms of time and miles wasted on the north side. For future hikers, I am confident this is a totally legal track. This was my first lunchbagging peak (one I could summit during a work day lunch break).


First look at Buzzard Peak


Benchmark stamped "San Jose"


Looking north to the San Gabriels


Cal Poly Pomona campus


Saturday, February 7, 2015

Vulture Crags and Peak 2400

Hiked: 2/6/2015
Distance: 7.5 miles round trip on trail
Summit Elevation: 2436' (peak 2400)
Elevation Gain: 1300'
Elevation Gain (in Sears Towers): 1.04
Round trip time: 2 hours 30 minutes
Recommended water: 64 oz.
Parking/Fees: Free on Santiago Canyon Road
Difficulty: Moderate

Vulture Crags used to be a nesting area for California condors, about a hundred years ago. Now, it is just an interesting jumble of conglomerate rocks in the Santa Ana Mountain foothills. The Santiago Truck Trail, also known as "The Luge" in mountain biking circles, is the main route to the crags. The trailhead is on Modjeska Grade Road, but parking is not allowed anywhere on that road, forcing you to park about a half mile down the hill on Santiago Canyon Road. I noticed on the way up that both sides of Modjeska Grade Road were plastered with "No Parking" and "No Trespassing" signs. I suspect the trail is so popular with bikers that parking and traffic became a nightmare for the people that live on the road and they got aggressive enforcing their property rights. The net result is an extra mile round trip and 200' of extra gain. The first part of the trail is on private property, but a sign posted allows access through to the national forest land.

Santiago Truck Trail starts as a wide dirt road, then modulates between a single track and dirt road a few times before settling back into a wide road. About a mile up the road is a permanent metal barrier blocking motorized traffic. Mountain bikers need to stop and lift their bikes over the obstacle, which is only about two feet high in the lowest place. At about 3 miles, peak 2400 stands as the high point along the route. It is listed that way in Peakbagger, but my GPS measured it at 2436'. There was a fine use trail to the top so I took the diversion and found a tall pole at the top and a benchmark with a missing face plate. The peaklet is not named in Caltopo.com, but it must have been named at some point to merit the benchmark. The use trail continued down the other side back to the truck trail, leaving only a short stretch before vulture crags came into view. There is a flag pole with an American flag and a US Marines flag opposite the crags on the trail. A trail junction here leads down to Live Oak Road and there were two ammo boxes filled with registers for the trail bikers that frequent this spot. I dirtied up one of the bike registers with my hiker signature. The crags are a pretty cool looking formation. I scrambled up to the top for a closer inspection, then went cross country over the bump behind the crags to get back to the trail. I met two other hikers on the way back, and a dozen more mountain bikers. Be aware this trail is mainly used by bikers.


The tedious trudge up Modjeska Grade Road


Start of Santiago Canyon Truck Trail


Peaklet 2436


The metal pole on peaklet 2436


Modjeska and Santiago peaks


Vulture crags behind the flags


Near the top of vulture crags


Looking over the top


Friday, February 6, 2015

Granite Mountain

Hiked: 2/5/2015
Distance: 8.2 miles round trip on trail and cross country
Summit Elevation: 5633'
Prominence: 1953'
Elevation Gain: 2900'
Elevation Gain (in Sears Towers): 2.32
Round trip time: 5 hours
Recommended water: 104 oz.
Parking/Fees: Free on Rodriguez Spur Truck Trail
Difficulty: Moderate

Granite Mountain is an imposing peak in the Anza-Borrego Desert with just under 2000' of prominence. It is #16 on the San Diego Sierra Club list and #221 on the HPS list. Adam (aka Gimpilator) joined me on this hike after our schedules finally worked out. We drove around Granite Mountain on S2 to the south side to take advantage of the Rodriguez Canyon route. This turned out to be a great choice, based on reports from other popular routes. We were expecting quite a thrashing and some route finding problems that never really materialized.

We started up a wash and could see the old mining road cut into the side of the mountain, but heading away from the peak. We followed the road up a wide flat area where we could see the main south ridge above us. I was surprised to find the road in good shape. As we reached the flat, we spotted a couple of deer in the distance, but were unable to get any photos. A few hundred feet above where the road ended were two old mining shafts, the apparent purpose of the road. We crawled inside each of the shafts to look around, turning back when Adam spotted rat droppings. We could not see the end of either shaft, leaving the rest to imagination.


Granite from Rodriguez Canyon trailhead


Big cairn on the trail, main ridge in the background


First mineshaft entrance


Looking out from the first mine


Couldn't see the end of the first mine before turning back


Adam at the entrance to the second mine

When we reached the main ridge, we were greeted with a sea of cactus. In a moment of carelessness, I brushed a cholla and a needle penetrated my boot and sock, lodging in one of my toes. I had to stop and remove it before continuing. Luckily, there were no more close encounters of the cactus kind. Mostly, the use trail was in good shape up the ridge, though it faded in places. There were frequent cairns of all sizes. A couple of rocky spots looked like they might require some climbing, but in all cases, we found a class 2 bypass. The final approach included one false summit before reaching the large boulder and manzanita mash up of the true summit. The best path we found was closer to the north side and required a couple of class 3 moves. On the summit block is a benchmark from 1938 and two nearby reference marks. A new register was in place circa 2014 and already had four or five entries from 2015. We dutifully signed in and replaced it in the trademark red cans. It was very clear and the views were spectacular in every direction. We spotted a couple of brush fires that we later learned were controlled burns by the forest service. I tested out the Google photosphere app on my phone with some success. After enjoying the summit and taking in some calories, we packed up and made a quick descent. Granite was one of the most enjoyable hikes I've done in Anza-Borrego and the route was a pleasant bit of work. Since we had extra time, we made an effort to drive up to the Palomar High Point lookout on the way back. The first dirt road we took led to a dead end on private property. When we found the right road, it was closed and gated at the start. We talked to a forest ranger there and he told us the road was closed until summer. Even though we didn't get to Palomar, it was useful info to know about the closure so we wouldn't make a fruitless attempt in the near future.


Sea of cactus


Adam climbing toward a rocky outcrop


Nearing the summit


Granite benchmark


Looking east from the summit


The south ascent ridge


Granite Mountain from the north side along the S2

Photosphere from the Granite Mountain summit


Would you like to know more...?