Distance: 4.0 miles round trip on trail
Summit Elevation: 4498'
Prominence: 1077'
Elevation Gain: 1485'
Elevation Gain (in Empire State Buildings): 1.18
Round trip time: 2 hours 15 minutes
Recommended water: 48 oz.
Parking/Fees: Adventure Pass (not sure)
Difficulty: Easy
Jupiter Mountain lies well north of Santa Clarita, just north of bright blue Bouquet Reservoir. It would be my second hike of the day. It's hard to believe the Angeles National Forest stretches this far north. Jupiter stands out with a clean prominence of more than 1000'. The trailhead starts on Spunky Canyon Road near mile marker 2.68. There are no facilities at the trailhead, but there is a bench on the summit, so I don't know if you need the Adventure Pass for parking or not. I usually don't take chances. The hike starts up a dirt road to the left of the parking area. You can continue up a steep, wide firebreak on the left, or follow the road to the right where it intersects with a single track trail taking a less aggressive angle to the saddle between Jupiter Mountain and the slightly lower Juno Peak. Trails go to each peak from the saddle. I headed up the firebreak, taking the most direct approach to Jupiter. I wanted to test out some new video technology called hyperlapse, so I decided to record video of the entire hike. This was a little distracting and inconvenient. I had to break the video into pieces whenever I wanted to take a photo. Views of Bouquet Reservoir got better as I gained altitude. On the summit of Jupiter was a register can with three nearly full books stuffed into it. Quite a popular peak. There is also a bench if you want to just sit and rest or enjoy the panorama. I didn't find a benchmark.

Jupiter Mountain with over 1000' of prominence

Trailhead off Spunky Canyon Road

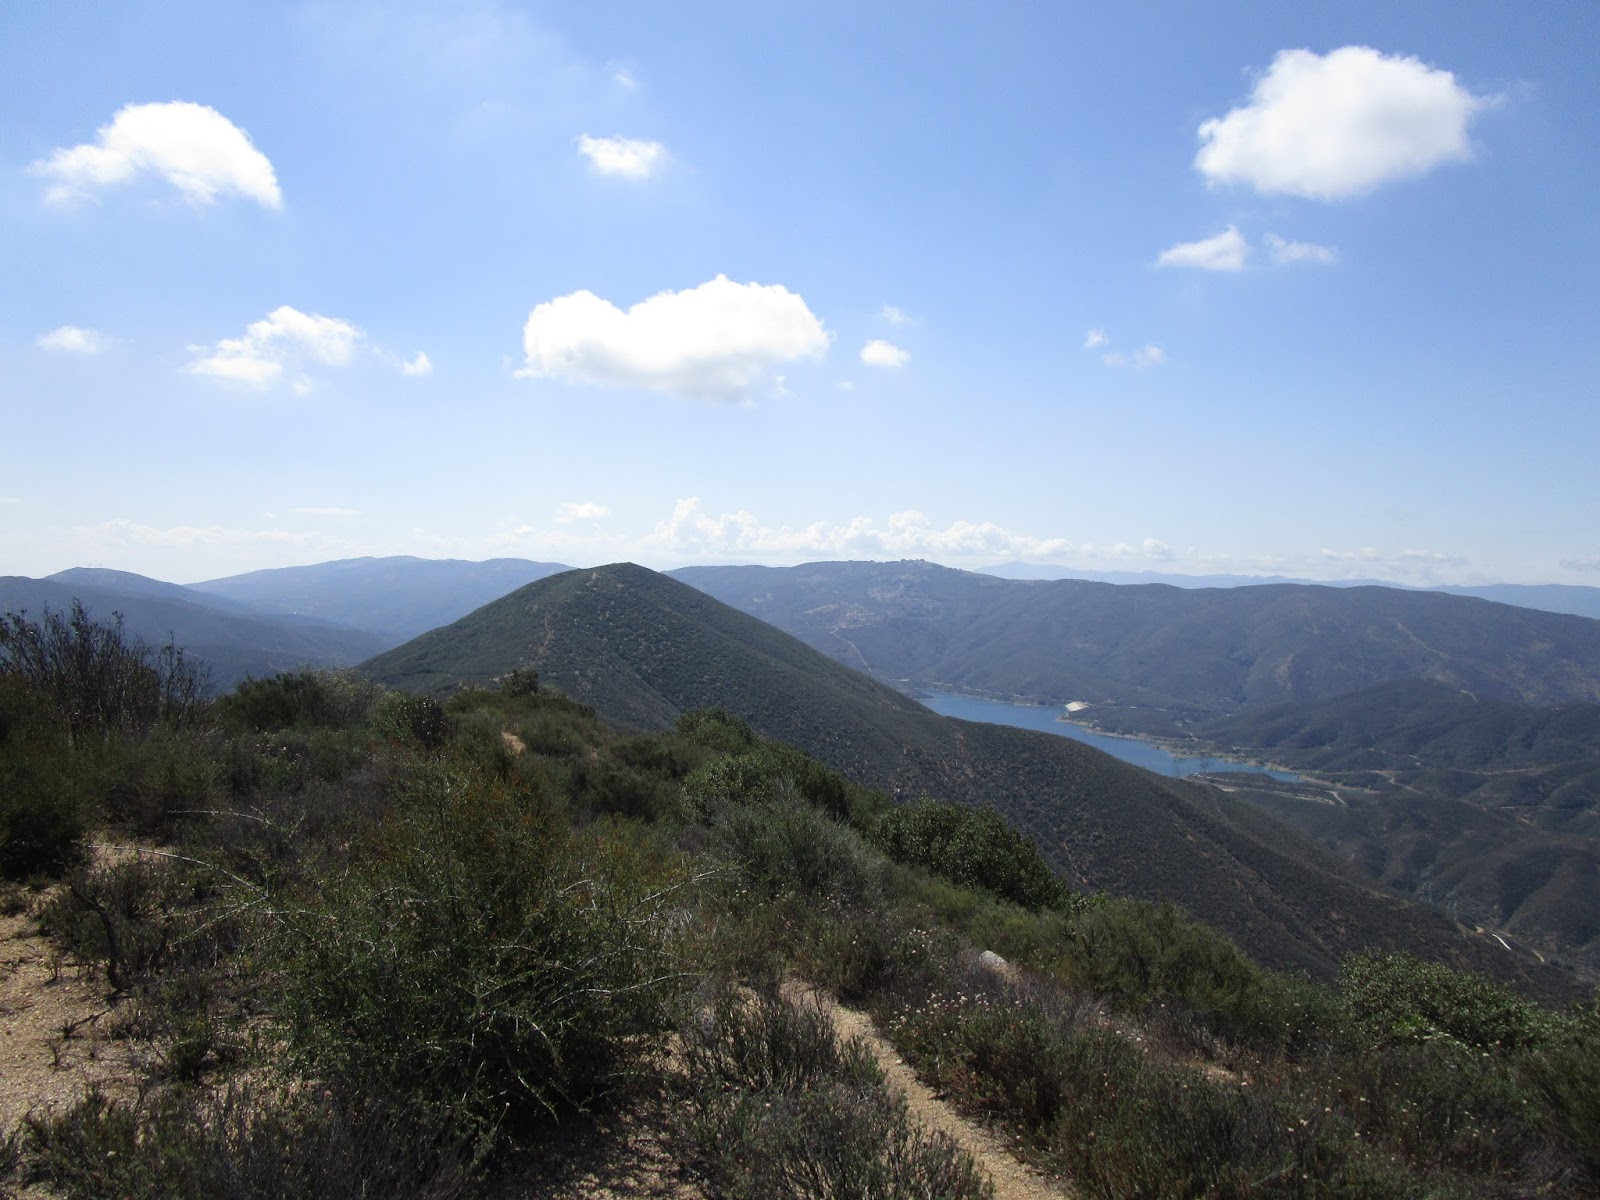
Bouquet Reservoir from Jupiter Mountain summit

Jupiter Mountain summit, Juno Peak in the background
About a mile away and only 67' shorter is Juno Peak (also called Jupiter Mountain West) on the other side of the saddle. When I finished looking around Jupiter, I started down toward the saddle, then steadily climbed up to Juno. Again, I took video of the entire segment. There is nothing on the flat, sandy Juno summit. I found a pole marker northeast and just below the summit. No benchmarks or registers, but fine views just as on Jupiter. Having reached all my summits for the day, I took a food break and enjoyed the sunny views. I followed the single track trail down from the saddle to the car. My camera battery gave out on the way down so I don't have complete video of the hike. I did get enough for a good test of the hyperlapse software (linked below). The goal of hyperlapse is to speed up and smooth out choppy movement oriented video. My raw footage made that very difficult. Microsoft has a free beta version for the Windows desktop, and they also have a version for Android phones (but not Windows phones yet!?). There are other good software choices for iPhones. Phones might have trouble processing large videos, both in terms of CPU and storage. My test used the Microsoft desktop version which is still in beta mode. I think the hyperlapse video turned out OK. Regardless, it was a fun little hike after Mendenhall and another one crossed off the list.
Jupiter Mountain from Juno Peak

Juno Peak summit pole marker, Green Valley below
Climbing Jupiter Mountain
From Jupiter Mountain to Juno Peak


No comments:
Post a Comment