Saturday, March 14, 2015

Mount Mel and Keys Peak

Hiked: 3/13/2015
Distance: 8.7 miles round trip on trail and cross country
Summit Elevation: 3814' (Mount Mel), 4484' (Keys Peak)
Prominence: 324' (Keys Peak)
Elevation Gain: 2000'
Elevation Gain (in Empire State Buildings): 1.6
Round trip time: 4 hours
Recommended water: 112 oz.
Parking/Fees: $15 National Parks (one vehicle, good for a week)
Difficulty: Moderate

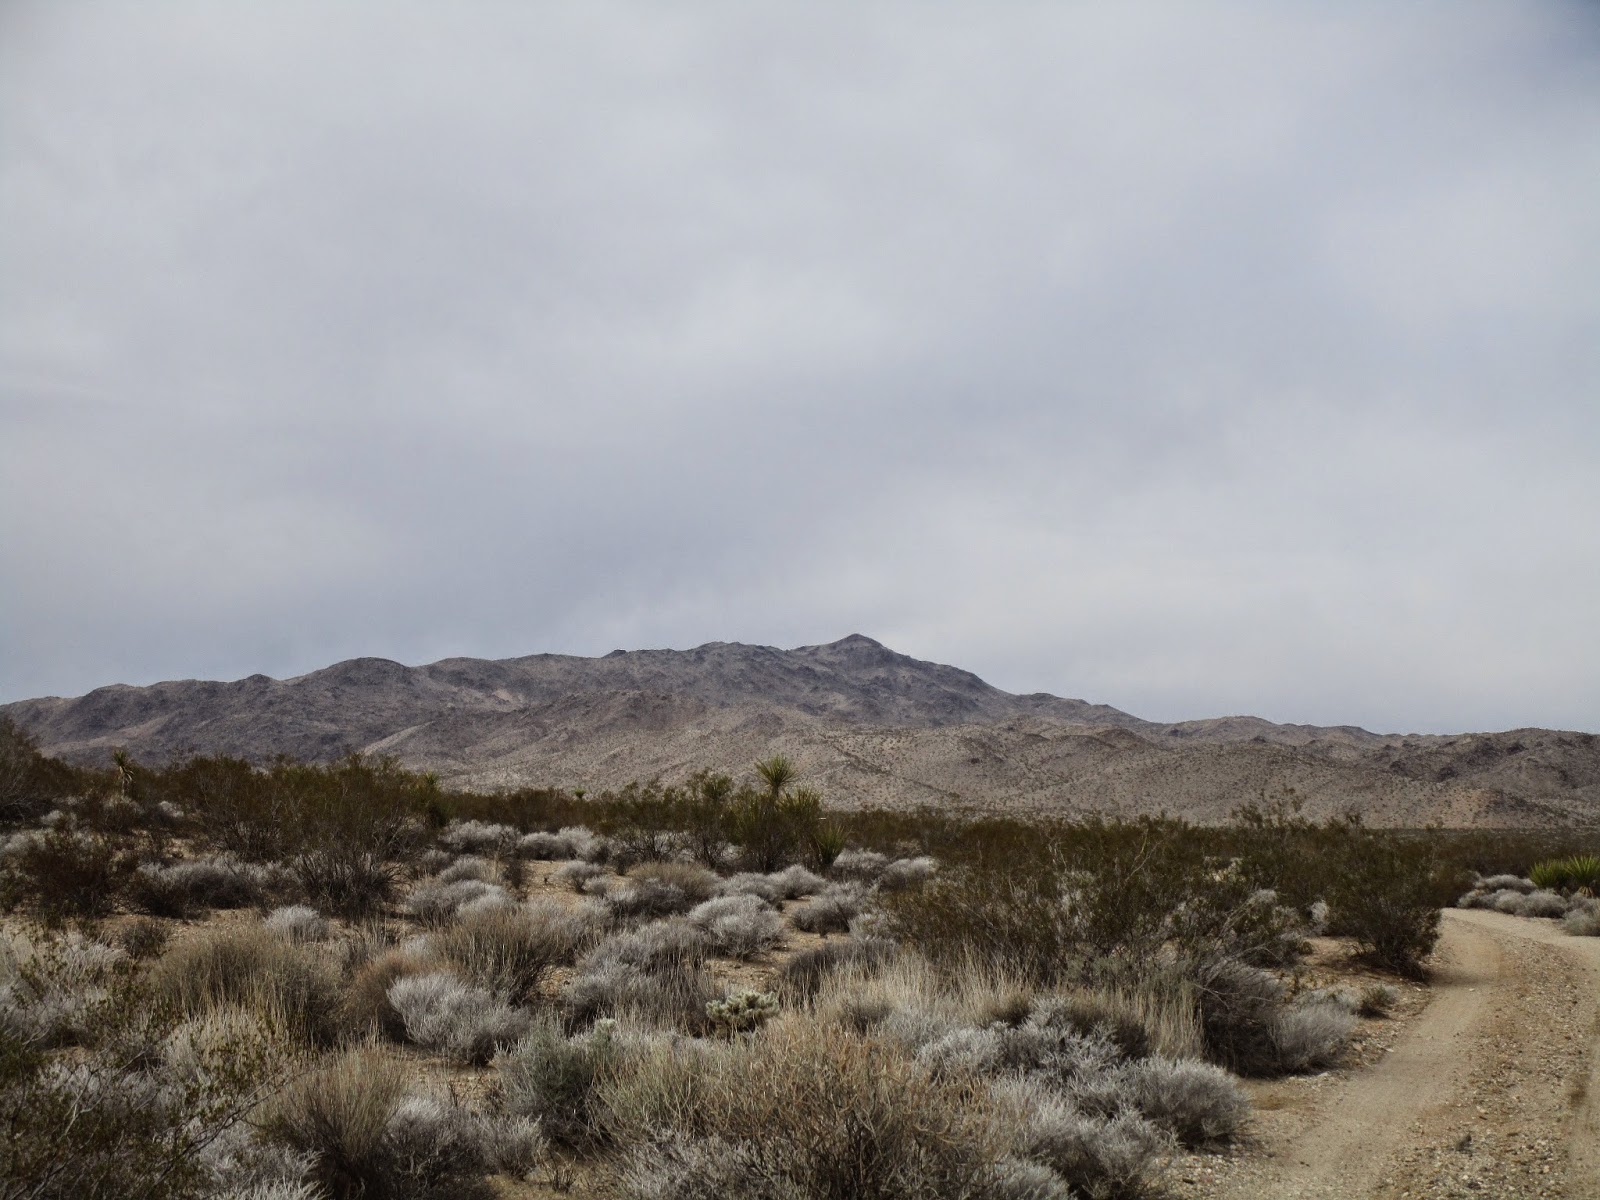
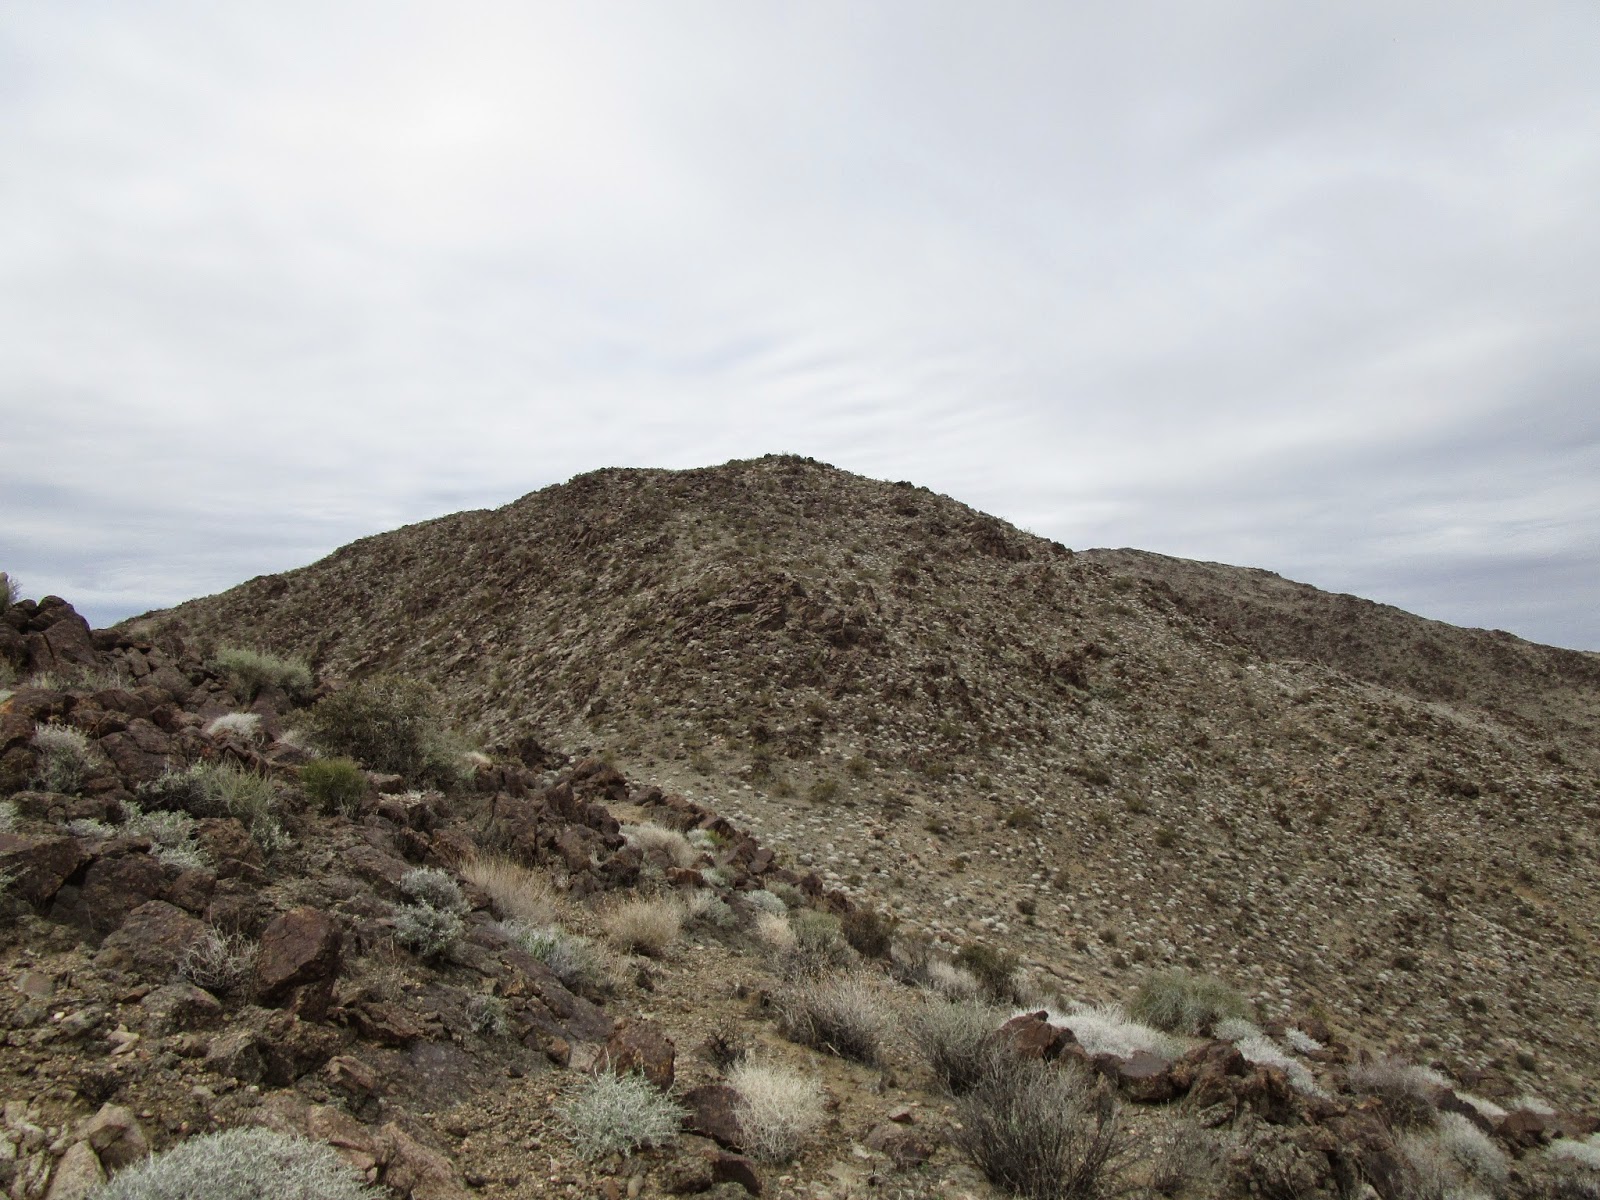
Mount Mel and Keys Peak were the last two Joshua Tree Lower Peaks. With these two, I have climbed 63 of the 84 Sierra Club Lower Peaks. Mount Mel and Keys are frequently combined, and I followed the script heading out from the trailhead near Indian Cove Campground at the west turnaround. There are about 5 parking spots there and three were taken by what appeared to be a rock climbing class, getting busy on a tall structure just above the parking area. I started down the nature trail as indicated in the Sierra Club guide, then went cross country where the short trail ended. Mount Mel was visible, so I aimed directly toward the left side. I arrived at the base quickly and made a direct assault from the southwest. Mount Mel is a big pile of boulders and I needed to make a few class 3 moves near the top. On the summit boulder was an unusual looking tube holding the register. I didn't see a benchmark anywhere. The summit area on the boulder was small so I didn't do much but sign the register and take a few quick photos, On the way down, I angled toward the canyon so I could descend to the Boy Scout trail. I spotted a few cairns on the way that favored the left side of the canyon and that way did seem to be less cluttered. Still, the 300' scramble down to the canyon required some attention. Not really hard, but picking my way through the brush and boulders slowed me down. The Boy Scout trail was sandy and wide, perfect for upping the pace. There are some spectacular sheer walls at first that drop away as you continue. In a mile or so, the trail starts to switchback up the canyon and narrows to a single track. The trail is well signed and in great shape.


Rock climbing class near the trailhead


Starting down the nature trail, Mel in view


Climbing the jumble of rocks named Mount Mel


Unusual tube where the register was stored


Looking back at the parking area from Mount Mel summit


The north side of Mount Mel


Boy Scout trail


Lonely tree

I ran into several groups of hikers on the trail, including a large group of actual boy scouts. Everyone was cordial as we passed. Eventually, the trail led out of the canyon and Keys Peak appeared. Keys had some vegetation and trees growing on it but not enough to be in the way. While the ascent was steep, it was nothing more than class 2. Unlike Mount Mel, the summit was long and wide with lots of flat spaces to eat or nap. The weather was so nice I was tempted to do both. Instead I signed the register and located the benchmark and one reference mark labelled No. 2. I thought with such a large summit area, the USGS would have placed reference mark No. 1 somewhere but I couldn't find it. I followed the same path down and returned along the Boy Scout trail. The final challenge was the ascent of the canyon back toward Mel. Going up, I favored the right side, the side I came down, but ended up drifting toward the center. Once past Mel, I could see the parking area and had an easy cross country trek the rest of the way.


Approaching Keys Peak


Straight up the north side


Keys Peak benchmark placed 1939
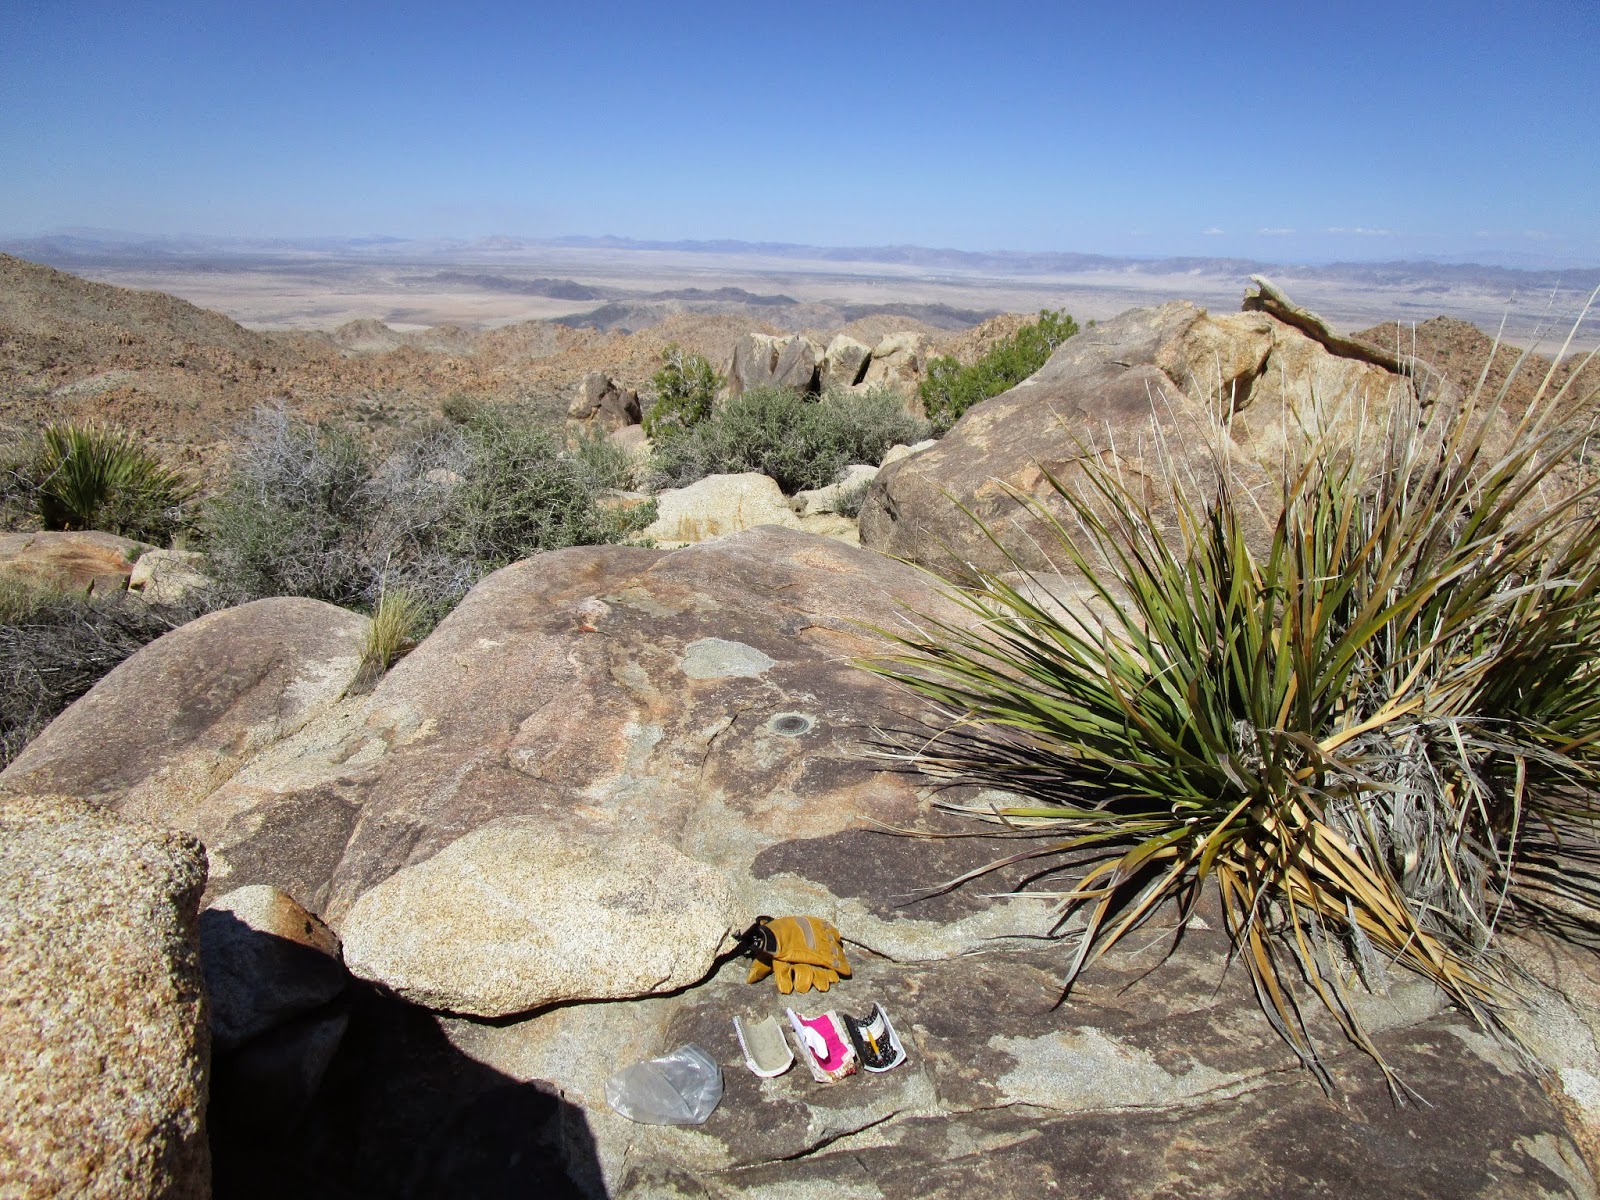

Popular peak with three registers


Long, flat summit


I think this a pencil cholla (Opuntia arbuscula) with eye catching golden needles


Friday, March 13, 2015

Monument Mountain

Hiked: 3/11/2015
Distance: 6.3 miles round trip cross country
Summit Elevation: 4834'
Prominence: 1134'
Elevation Gain: 1620'
Elevation Gain (in Empire State Buildings): 1.29
Round trip time: 3 hours
Recommended water: 64 oz.
Parking/Fees: $15 National Parks (one vehicle, good for a week)
Difficulty: Moderate

Monument Mountain is #3 on the Lower Peaks List and sports a good bit of prominence. The trailhead is roughly 4.8 miles down Pinkham Canyon Road. Unlike Geology Tour Road, this one is fairly rough with plenty of ruts, potholes, and sandy washes to cross. If you were patient and drove very slowly, a low clearance vehicle could make it, but I would not risk it. I think I could have driven a little further down the road before parking, but I felt I was close enough at a spot where I felt comfortable pulling off and turning around.

I didn't see any trail in the sparse desert, so I took off straight for the lowest bump to gain the ridge. The canyon here is filled with washes, sand, cactus, and small trees, but it is easy going for cross country. Once I gained the first ridge, I started seeing a few cairns and a faint use trail would fade in and out. The goal was to follow the ridge, which is not too hard, but the terrain looks the same in almost every direction. I found myself frequently checking my GPS to make sure I was heading the right way. Monument Mountain is visible from a distance as you drive up the road, but once you are on the ridge, you are faced with many false summits and higher ridge lines, so you don't see the actual summit for a while. I tried to focus on the next bump, then the next, sidehilling some if I could tell where the ridge was going. I made steady progress this way.


Monument Mountain from Pinkham Canyon Road


Starting across the desert


Approaching one of the larger bumps


Monument Mountain rising above the ridge

When I gained the final ridge, the rocky summit of Monument appeared to rise rather abruptly. It looks harder than it is, though, and cairns mark most of way up through some easy class 2. At the top, I found the benchmark, two nearby reference marks, and the register. Monument Mountain has 10 miles of isolation, meaning it is the highest thing around for a good distance. The views weren't quite as nice as the climb, with all the nearby terrain blending in salt and pepper uniformity. Still, this was the first hike in Joshua Tree where I felt really isolated and in the wild. That alone was worth the price of admission. On the way back, I never got off track, but I had the same uneasy feeling that I might be descending the wrong ridge and continued the frequent GPS checks. Finally, I saw the road below and the way down became obvious. When I was almost to the road, I stumbled on a desert tortoise shell broken apart in the middle where Mr. Tortoise had come to an unfortunate end. Whatever got him didn't waste any of the meaty parts, going full circle-of-life.


Cool red tinted rocks near the summit


Monument Mountain benchmark, set 1959


Looking down the ascent ridge


San Jacinto in the distance from the Monument summit


Desert tortoise remains


Thursday, March 12, 2015

Malapai Hill and Malapai Benchmark

Hiked: 3/10/2015
Distance: 1.7 miles round trip cross country
Summit Elevation: 4280'
Prominence: 360'
Elevation Gain: 570'
Elevation Gain (in Empire State Buildings): 0.45
Round trip time: 1 hour
Recommended water: 16 oz.
Parking/Fees: $15 National Parks (one vehicle, good for a week)
Difficulty: Easy

Malapai Hill is #23 on the Lower Peaks list and another very short hike. The trailhead is seven miles down Geology Tour road, a dirt road in the middle of Joshua Tree National Park. The road is in mostly good shape and despite a warning sign, it can be driven without high clearance or 4WD. The best place to park is at mile marker #7 where there is a small turnout. The hike is all cross country, but very easy going. The cactus and shrubs are sparse making it easy to pick your way through without unwanted contact. Malapai Hill looks dark from a distance and is covered in places with dark brown basalt talus. While the ascent is somewhat steep, you shouldn't need to use your hands. The only trick is to navigate the loose talus without slipping or twisting an ankle. I headed toward the saddle, then climbed a little right of center, though any path is as good as another. I found a register on top and signed in, but once again no benchmark. There is a lower bump to the south that Caltopo named Malapai BM, so after taking some pictures from the summit, I headed over to Malapai BM, where I still didn't find a benchmark. A few small cairns had been tossed together, but otherwise, there was nothing to see. I headed down more directly from the saddle across more talus and was back at my car in an hour. Even though it is in the middle of Joshua Tree, I never quite got the same feeling of being in the wild that I do in Anza-Borrego. I don't mean to diminish the charm of Joshua Tree. I've never seen any place better for bouldering and rock climbing.


Joshua Tree on the way to Malapai Hill


Malapai Hill from the turnout
>br>

Cactus in the glow of fading light


Looking up from the bottom of Malapai Hill


Summit register


Random rock piles to the north


Descending on the talus


Partial rainbow at dusk

Photosphere from the summit of Malapai Hill


Mastodon Peak

Hiked: 3/10/2015
Distance: 2.5 miles round trip on trail
Summit Elevation: 3440'
Prominence: 120'
Elevation Gain: 500'
Elevation Gain (in Empire State Buildings): 0.40
Round trip time: 50 minutes
Recommended water: 16 oz.
Parking/Fees: $15 National Parks (one vehicle, good for a week)
Difficulty: Easy

While in Palm Springs for a tech conference, I wanted to take advantage of daylight savings time and proximity to Joshua Tree to try to mop up the Sierra Club lower peaks in the park. Some of the hikes are very short, like this one to Mastodon. It is a 2.5 mile loop with very little gain, but it surprised me by packing a lot of great views, an interesting mine, and a fun scramble at the summit. It starts near the Cottonwood Springs campground at a parking lot at the end of Cottonwood Springs road. The Lost Palms trail is well signed and groomed, and about a mile down the trail branches left to Mastodon. The loop continues past the summit, then down a wash and back to the road. When you get to the base of the Mastodon summit, you can charge it directly for some class 3, or follow the use trail around to the north side for an easy class 2 scramble. I didn't find a benchmark or register around any of the high points. After I spent a few minutes on the summit, I returned to the loop and it led by the Mastodon Mine ruins. The mine itself is blocked off to protect people from themselves, but the ruins were nice highlight. This would make a nice family hike. If you want to make it a longer, you can continue down Lost Palms trail to the Lost Palms Oasis instead of taking the side trail to Mastodon, about a 7 mile out and back, or a little over 8 if you did the oasis and Mastodon. It felt great to be back in the desert.


Mastodon Peak from Cottonwood Springs Road


Start of the Lost Palms trail


Sign at the junction to Mastodon


Approaching the summit


Looking south from the summit


A fine looking chuckwalla basking in the sun


Another shot, I tried to get closer and he mistook me for a predator


Part of the Mastodon Mine ruins


Friday, March 6, 2015

Mormon Battalion Mountain

Hiked: 3/6/2015
Distance: 1.5 miles round trip on trail
Summit Elevation: 2350'
Elevation Gain: 350'
Elevation Gain (in Empire State Buildings): 0.28
Round trip time: 45 minutes
Recommended water: 0 oz.
Parking/Fees: $8 Glen Helen Regional Park
Difficulty: Easy

As I was coming down from Mt. San Antonio, my calf felt like it loosened up. Since I had some extra time, I checked Peakbagger.com for a nearby small peak and found Mormon Battalion Mountain at the tail end of Lytle Creek Ridge near Ranch Cucamonga. There were multiple ways up, but perhaps the least controversial way was from Glen Helen Regional Park. I tapped the address into my phone and paid the unexpected $8 parking fee (per vehicle). I think it was $10 if you wanted to fish. The San Manuel Amphitheater is in the park and there was a small waterpark there as well (closed for the winter).

I drove down Glen Helen Park road and veered toward the based of the mountain until I hit a locked a fence. I parked on a small dirt road there. The fence only goes a short distance right of the road and there was a use trail that went around it. Then, I hiked down the road until I found a gully with a wide trail heading up to a saddle. From the saddle, it was short climb to a series of three bumps, with the middle one being the obvious high point and summit. There were several metal markers just off the road at the actual high point. Since this area sits near the Cajon Pass, the wind was blasting on top. My best guess is 50-60 mph. It whipped the loose straps from my pack against my head and back and I had to hold my hat or lose it. I checked out all the bumps, then reversed course and was back in my car in 45 minutes. Not much of a hike, but my only consolation after giving up on the Mt. San Antonio winter attempt.


The fence ahead and Mormon Battalion Mountain in the background


Start of the trail up the gully


Summit in view from the saddle


Summit marker (one of several)


Mt. San Antonio Winter Ascent (attempt)

Hiked: 3/6/2015
Distance: 7.1 miles round trip on trail
Summit Elevation: 10064' (3067m)
Highest Elevation Reached: 8202' (Ski Hut)
Elevation Gain: 2260'
Elevation Gain (in Empire State Buildings): 1.80
Round trip time: 4 hours
Recommended water: 64 oz. (96 oz. for successful trip)
Parking/Fees: Adventure Pass
Difficulty: Strenuous (for successful trip)

One of my goals this year was to climb Mt. San Antonio in the snow. I wanted to duplicate Rod's hike up Devil's Backbone from the notch. However, because I had to be back early, I could not wait until the ski lifts opened and had to take the longer Ski Hut Trail. I started from Manker Flats at 6:00 AM and there was already enough daylight to skip a headlamp. The road was clear and I didn't expect to hit any serious snow until after the Ski Hut.

The temperature at the trailhead was in the mid-40s, and the forecast for the summit was low 30s with a wind chill in the low 20s. There was already a steady 10-20 mph wind at the trailhead. I got everything prepped and started up the familiar road. For some reason, I zoned out at the Ski Hut trail junction and continued up the dirt road toward the notch. I've been on the this trail 5 times and know it well. When I realized I had passed it, I returned and with a small amount of focus picked it up. I was moving slower than usual. To protect my hands from the cold, I was sporting new Black Diamond gloves and they were doing their job. They were also stiff and made it hard to operate my camera and everything else. I didn't hit any snow or ice on the trail until around 7000'. Then, patches of ice of varying lengths appeared frequently. My plan was to work around the patchy ice and break out the crampons at the Ski Hut. As I gradually warmed up, I started to get too warm, so I stopped to take off my fleece layer. When the Ski Hut was finally in sight, I got a couple of twitches in my right calf. I didn't pay them any mind until it went full cramp just below the Ski Hut. I continued slowly up to the Hut itself and sat down in the small sheltered porch area to get out of the wind, which was a steady 20-25 mph. I thought I'd see how it felt after a little rest. I fumbled around for food and got the crampons out, but before it was time to put them on, the calf cramped again. Since the hardest half of the hike was ahead, I decided not to push it and packed up to head down. As I worked my way down, I passed a fair number of hikers headed up, but could only give them beta up to the Hut.

This hike convinced me that I perform poorly in cold weather. It doesn't seem to be a winter skills deficit, and skills can be acquired in any case. It seems more like a physiological thing. This was my first calf cramp during a hike. It just hasn't happened, except this time, in the cold. Looking back on other cold hikes I've done, my performance has consistently been poor. I've tried compensating for this with better gear, but it hasn't made much difference. I need to rethink how I plan cold hikes in the future...and how often.


Snowy Mt. San Antonio from the start


The Ski Hut, the only shelter along the trail, locked up tight


Telegraph Peak (left), and Cucamonga Peak (center) from the Ski Hut


San Antonio Falls running strongly, taken on the way down


See Also:
Mount San Antonio Winter Ascent 2019