Saturday, November 4, 2017

Monument Hill and Poppy Hill

Hiked: 11/2/2017
Distance: 5.7 miles round trip on trail
Summit Elevation: 2046' (Monument), 1981' (Poppy)
Elevation Gain: 774'
Elevation Gain (in Empire State Buildings): 0.62
Round trip time: 1 hour 25 minutes
Recommended water: 20 oz.
Parking/Fees: $4 Riverside County Parks (per adult)
Difficulty: Easy

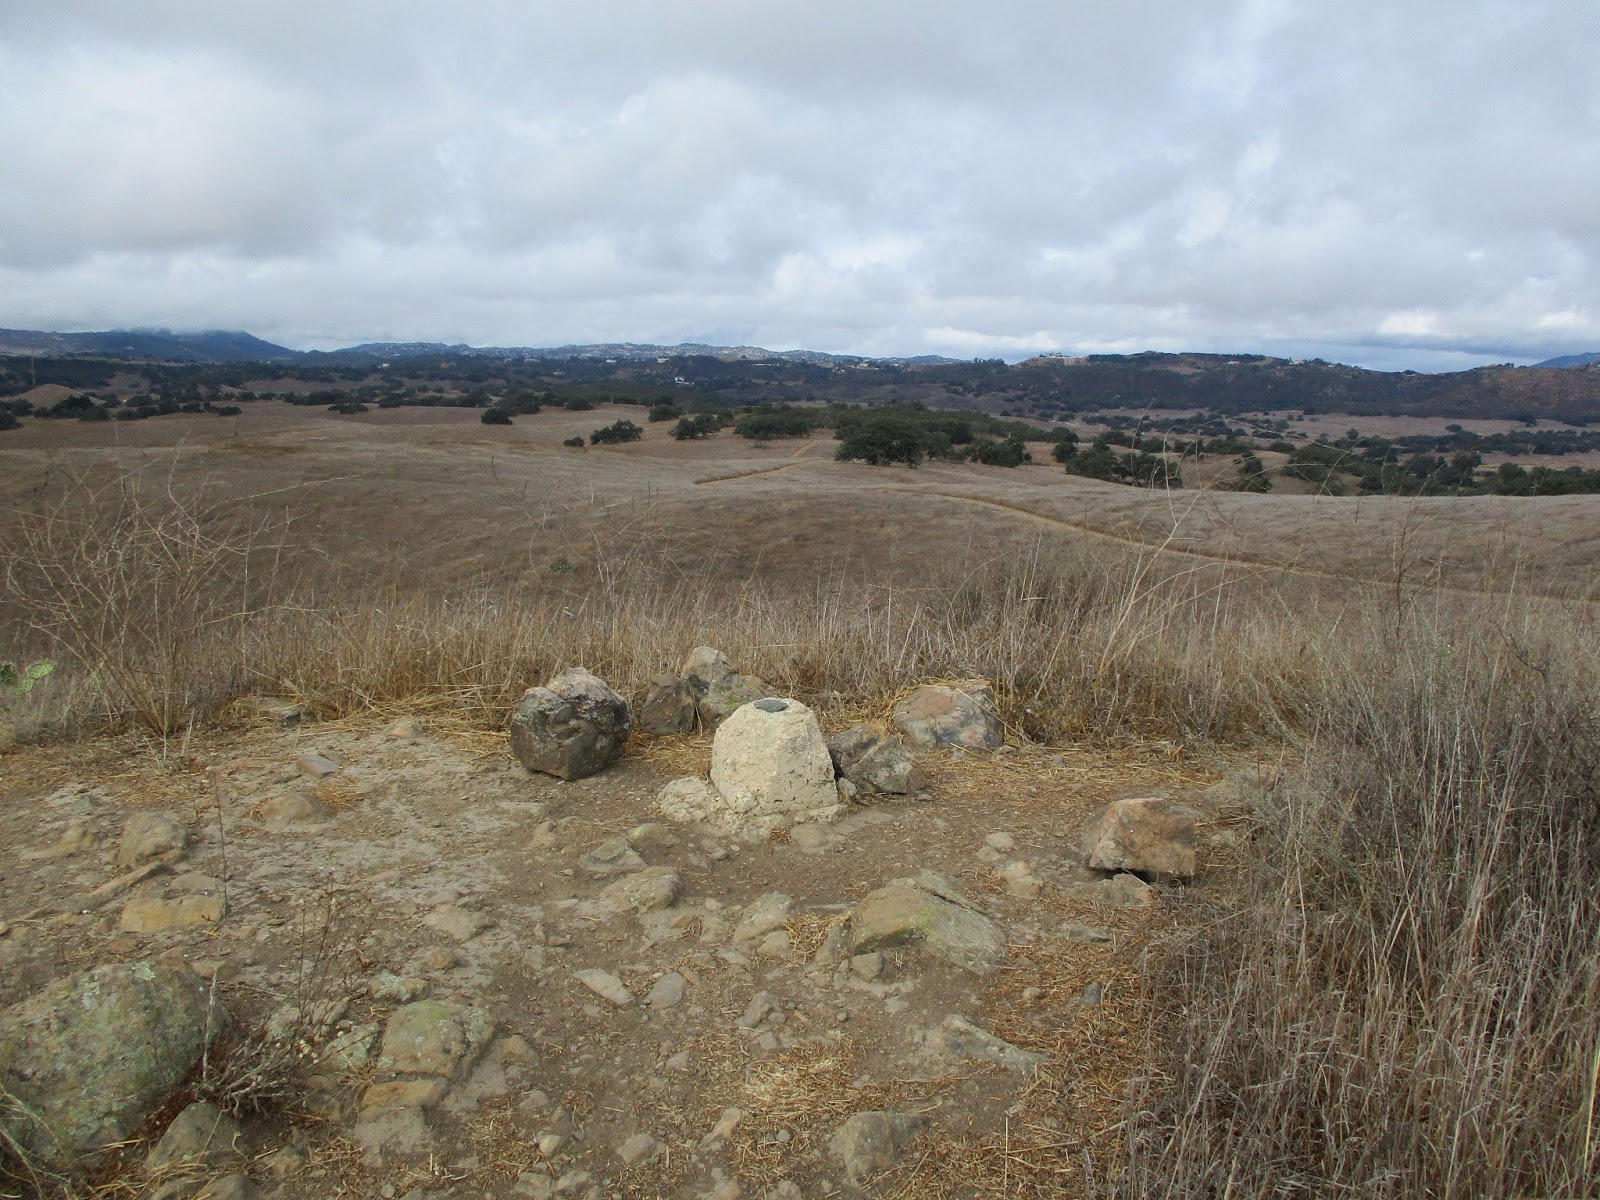
Monument Hill was added to the Lower Peaks List in October, 2017. It resides in the Santa Rosa Plateau Ecological Reserve near Murrieta. It is a popular area and there are several trailheads from which to choose. I parked at the Hidden Valley trailhead on Tenaja Road. The trailhead has a portable restroom and a couple of benches. Payment of the day hike fee is on the honor system. I looked for an envelope to enclose my fee, but ended up stuffing a $5 dollar bill instead into the slot. I didn't take one of the available maps thinking the network of trails would be well signed, and it mostly was. I took off on the Coyote Trail turning around after passing the junction with the Trans-Preserve Trail. Really, all the trails appeared to be "coyote" trails based on the amount of scat. At the next junction, I followed Monument Hill Road the rest of the way to the summit. I saw Poppy Hill on the way and came back for it later. The gentle rolling grasslands and oak trees reminded me of the nearby Oak Flats area in the San Mateo Wilderness. It was quite relaxing. Monument Hill had a beaten up benchmark and two reference marks all stamped "VAIL". I think the area was originally part of Vail Ranch after Walter Vail, but I'm not sure about the history. I didn't find a register. After a few quick photos, I started back toward Poppy Hill.


At the base of Poppy Hill, I found a use trail and followed it directly up. The use trail disappeared about half way leaving me to wade through knee high grass. It only took a few minutes to reach the top. I spent maybe a minute taking more photos before dropping down a better use trail on the longer ridge. A sign at the bottom of the long ridge indicated the area was closed. A short trail spur took me back to the Trans-Preserve Trail. I jogged about half of the trails out and back completing the entire trip in less than 90 minutes. Before leaving, I picked up one of the maps in case I decide to come back for the seasonal vernal pools or adobes. It was an easy trip and because of the addition, my second Lower Peaks list finish of the year. The addition of this peak removed (at least) nine other people from list completion.


Saturday, October 28, 2017

Devil Gulch (attempt) and Horseshoe Annex Mine

Hiked: 10/27/2017
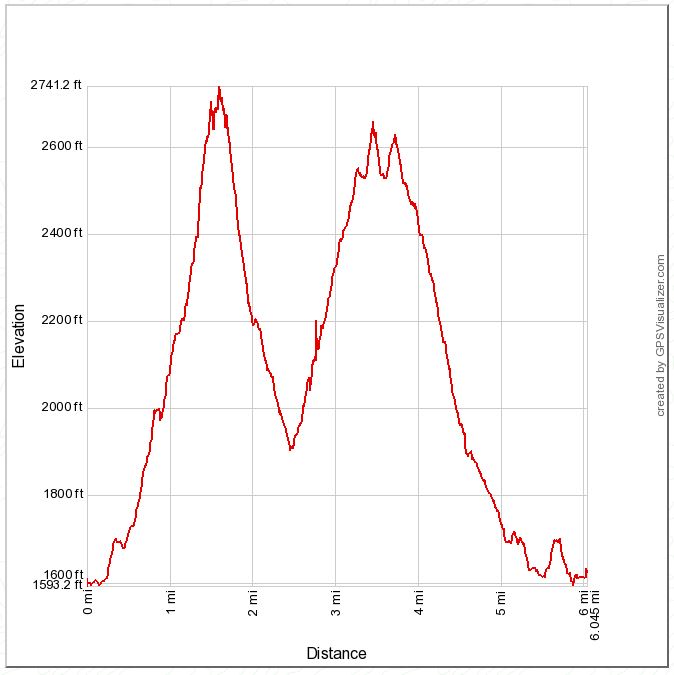
Distance: 15.6 miles round trip on trail and cross country
Summit Elevation: 3394' (high point above Devil Gulch)
Elevation Gain: 2700'
Elevation Gain (in Empire State Buildings): 2.16
Round trip time: 9 hours 30 minutes
Recommended water: 172 oz.
Parking/Fees: Adventure Pass
Difficulty: Strenuous

Dima and I made an attempt on Devil Gulch in the ANF. The gulch feeds the San Gabriel River and has three waterfalls in the lower half documented by canyoneers. The upper half was a complete mystery. It's a wild canyon in a rough neighborhood. Our ultimate goal was to follow the gulch to its source at the northwest ridge of Rattlesnake Peak, climb Rattlesnake and descend to Shoemaker Road. The effort fell far short, but we got some redemption by finding the Horseshoe Annex Mine on the way back.

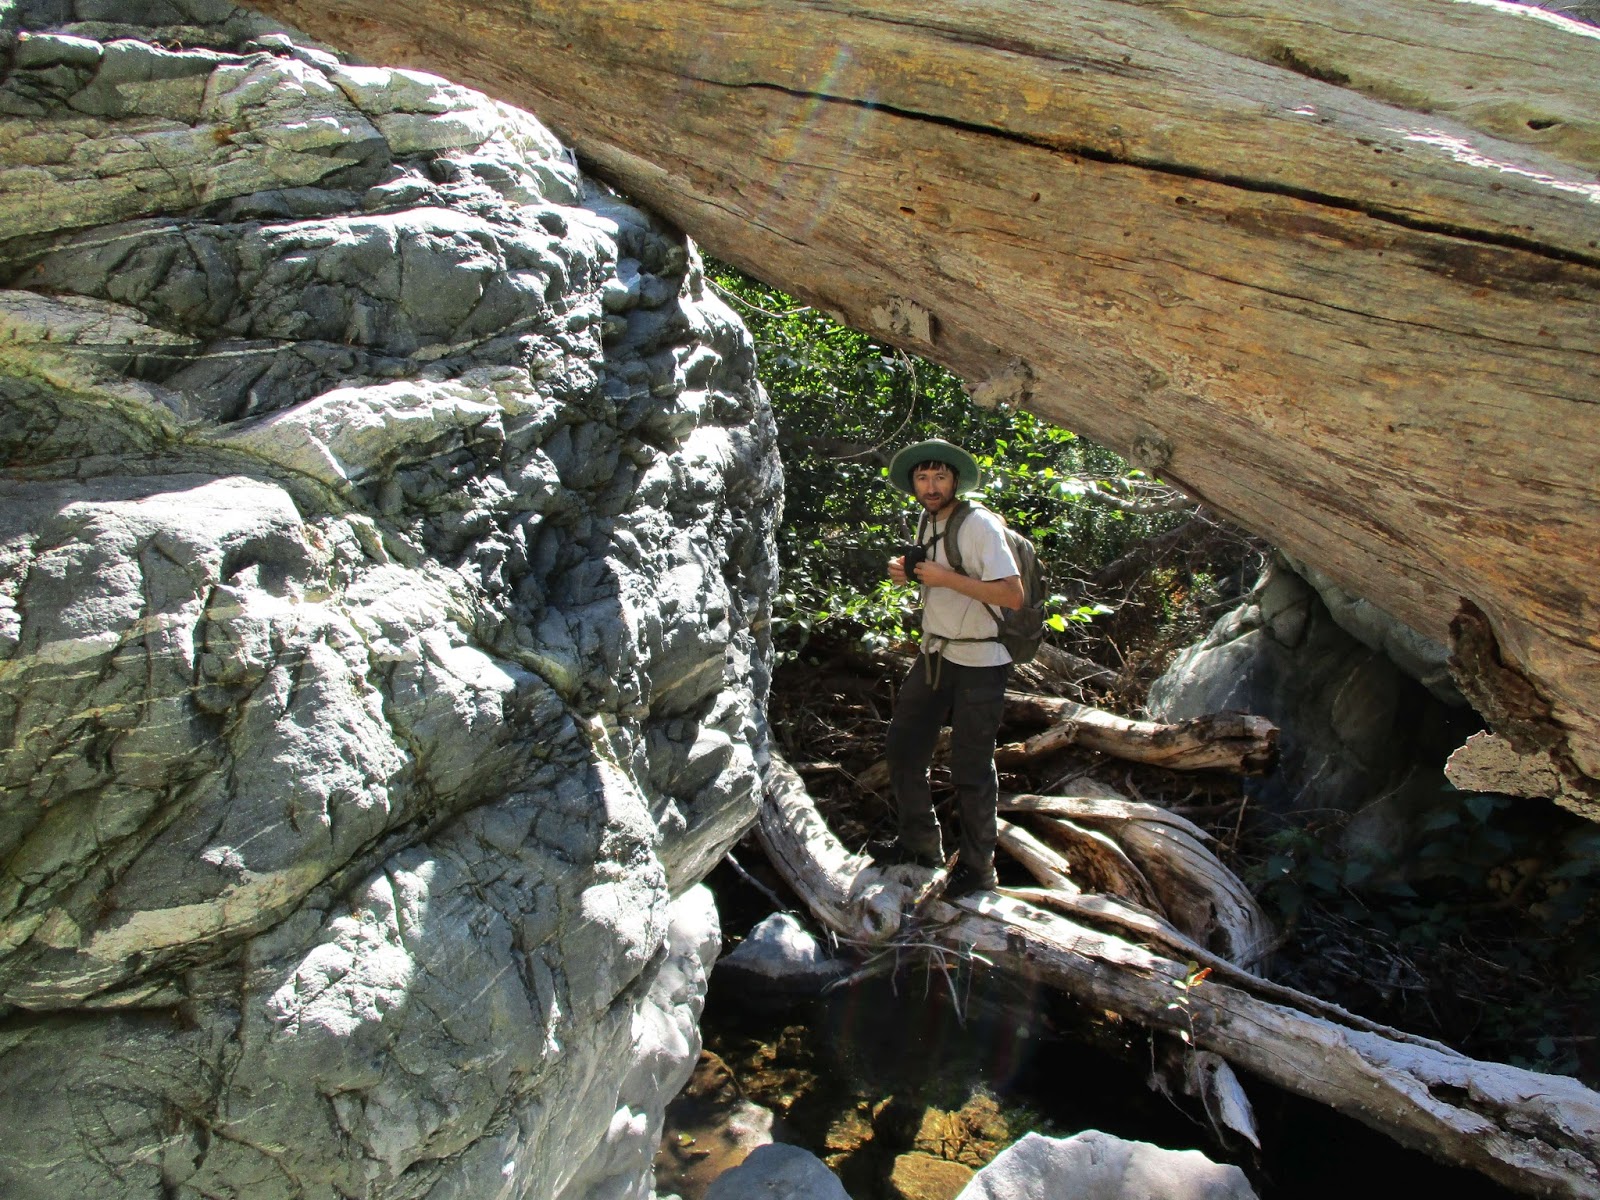
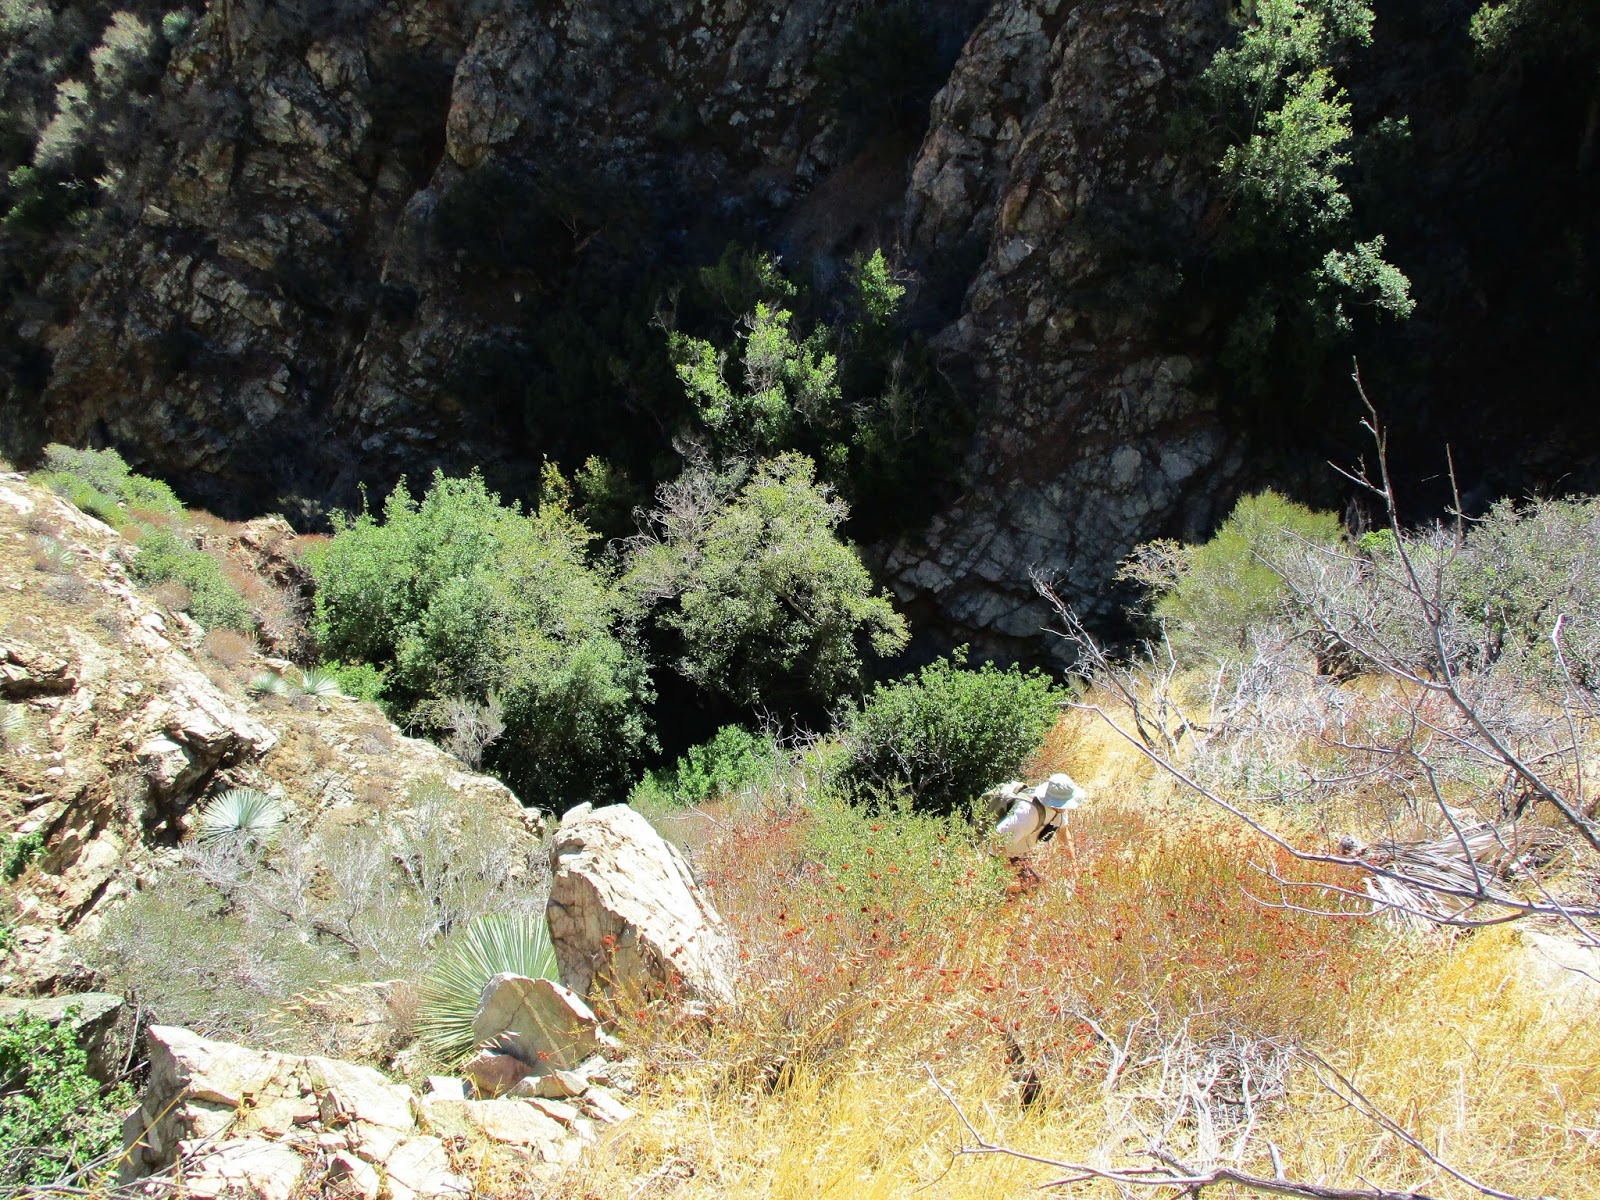
We met at Shoemaker and shuttled to Heaton Flat, getting on the Bridge to Nowhere trail around 5:30 AM. The river had a strong flow. We completed the five-odd crossings and reached the use trail to the river just after daylight. The use trail down to the San Gabriel River was in great shape. We turned down river and headed for the start of the long abandoned PL&P trail. Dima had scouted parts of the trail a month earlier and we wanted to take it as far as possible up the gulch to bypass the known waterfalls. We diverted slightly at the start so I could check out the old PL&P sign he found on the first trip, then we followed it up and over the ridge into the gulch. Once inside the gulch, the trail got increasingly faint but we could still barely make out the cuts from a distance. It was sketchy and loose several hundred feet above the canyon. Quickly, we ran into a ravine that stopped our progress. Faint cuts were visible in the next cliff but getting there was a problem. Dima scouted above for any continuation or some kind of access not visible from below, but didn't see anything. We debated dropping a few hundred feet down a scree slope and trying to get back up to it across the ravine, but decided to just take the scree slope into the gulch and start up from there. I dropped down the scree and Dima left a big gap between us to avoid knocking rocks down on me. We entered at a small waterfall and it was at once both beautiful and terrible. Thick, healthy trees grew in the gulch, but the ground was filled with decayed trees, boulders, leaves, and water. There was more water than I expected flowing gently toward the river. The decayed trees were so rotten that even 2' diameter logs would not support my weight. We fought slowly upstream until we hit the second major waterfall as described in the canyoneering report. It was a 20' fall with a long, deep pool below it. We followed a side wash on the left, then did some light class 3 on loose dirt/rock to bypass the waterfall. I had hoped we could average slightly less than 1 mph in the canyon, but it was closer to 1/2 mph. Looking upstream, I did the calculus of our rate plus the odds of running into a waterfall we could not bypass and suggested we turn around. Dima would have continued, but agreed to head back. We decided to follow the gulch out instead of try to scramble up the scree slope to the PL&P.


Devil Gulch from the Bridge to Nowhere trail


Use trail to San Gabriel River


One of ten river crossings


PL and P trail sign


Sketchy trail


Bridge to nowhere from PL and P


Devil Gulch from the PL and P


Descending the scree


Dima on the way down


Welcome to the jungle


Pool below the 2nd waterfall


Above the 2nd fall, turnaround point

The descent was as slow as the ascent and it took us over an hour to reach two-tiered Devil Gulch Falls, 15' for the upper tier and 60' for the lower. Dima recalled a fixed rope bypass nearby, but we couldn't find it. We backtracked to the first steep gully that looked climbable and started up. It was a mix of class 2/3 dirt and crumbling rock with some cactus and dead shrubs to keep it interesting. Half way up, Dima scouted right for the bypass with no luck. I continued left to reach the spine of the gully, following it over the top to get around Devil Gulch Falls. We descended more or less straight down on animal trails. We passed cabin ruins near point 2612', then followed the river up a bit, searching the north wall for the Horseshoe Annex Mine. Eventually, we stumbled on a thick cable and a cairn that marked a use trail to the mine. The adit was behind a large tree. We dropped our packs, unpacked our lights and headed inside. At the entrance, we found sheep bones and continued slowly, announcing our presence with "Hello, Mr. Mountain Lion". Hearing no reply, we proceeded deeper into the main tunnel. We passed other tunnels branching left and right, stopping more than 100' deep into the main tunnel where we had to crawl to continue. Overall, the main tunnel of the mine was in good shape. Finding the mine was a balm on the cuts and bruises from dancing with Devil Gulch. Based on this trip, I would guess a full ascent over Rattlesnake would take at least 15 hours. The upper half of the gulch remains a mystery.


Heading down the gulch


Dead end at the top of Devil Gulch Falls


Escape gully


Devil Gulch Falls from above


Back in the river


Entrance to Horseshoe Annex Mine


Bones


Inside the mine


Raw mine video, Blair Witch style


Other Reports:
Devil Gulch (Ropewiki)

Tuesday, October 10, 2017

Bauer Benchmark

Hiked: 10/6/2017
Distance: 1.8 miles round trip on trail
Summit Elevation: 806'
Elevation Gain: 612'
Elevation Gain (in Empire State Buildings): 0.49
Round trip time: 40 minutes
Recommended water: 0 oz.
Parking/Fees: Free on E Creekside Ave
Difficulty: Easy

I parked on E Creekside in Orange, although parking on E Stillwater would be just as convenient. The single track trail in the El Modena Open Space starts across North Cannon street between Creekside and Stillwater. The trail winds around the first bump then climbs up the ridge. At the top of the first bump, water in the Santiago Creek Recharge Basin comes into view. You can also see a second unnamed bump between you and Bauer, the high point in the open space preserve. I jogged parts of the class 1 trail, enjoying what looked like volcanic rock toward the top. The benchmark is at the north end of the ridge. The cement area surrounding the benchmark was painted using a geometric stencil creating an arrow between two painted skulls. The paint covered part of the worn benchmark making it hard to read. I could make out "Bauer" and "Dec 1977" but was unable to determine the agency that placed it, usually shown around the perimeter. An Internet search turned up additional reference marks (geocaching.com) that were placed by the Orange County Surveyor, so it is reasonable to expect the benchmark was also placed by the County. The views were good but hazy. A couple and their dog arrived from the north a few seconds after I left. At the saddle between the first and second bumps, I took a side trail down the east slope that dropped me onto Cannon Street just above Creekside. I continued down Cannon to the truck and returned to work. This was my third lunchbagging peak. Fun for a quick work out.


Start of the trail


Up to the first bump


Looking over the middle bump to Bauer


Approaching Bauer


Benchmark and graffiti


Northwest to the recharge basin


Northeast to Chino Hills


Side trail back to Cannon

Friday, September 29, 2017

North Iron Mountain and Ramona Overlook Peak

Hiked: 9/29/2017
Distance: 6 miles round trip on trail
Summit Elevation: 2703' (North Iron), 2635' (Ramona)
Elevation Gain: 2055'
Elevation Gain (in Empire State Buildings): 1.64
Round trip time: 3 hours 35 minutes
Recommended water: 64 oz.
Parking/Fees: Free at Ellie Lane trailhead
Difficulty: Moderate (class 5 summit on North Iron)

North Iron Mountain in Poway is wedged between Iron Mountain and Woodson Mountain. It is higher than Iron, lower than Woodson, and far more difficult than either, sporting a tricky 50' class 5 summit block. TLDR: About 3 hours of relaxed single track and 20 minutes of abject terror. One of the great things about the Poway area is the cluster of small but interesting peaks and it's only about an hour from my house. I parked at the Ellie Lane trailhead and took the trail that runs between North Iron and Mt. Ellie. It climbs to the saddle where Table Rock marks the beginning of the use trail to North Iron. The use trail is in good shape with almost no bushwhacking.

Don't get lost now
Show no fear
And you'll be ready
For a new frontier
-- Monster Magnet, God Says No

The North Iron summit is made up of several house sized boulders piled on one another. I circled the peak and there were several possibilities for reaching the top. I had spoken to Eric Su about it and he provided valuable beta on a class 5 roped route from the northeast. (Thanks!) Eric's route required lassoing a chicken head with webbing about 12' above a class 3 ledge, then a relatively short ascent from there. Bob Burd's recently discovered unroped class 5 route from the south involved four sections: 1) climbing a tree to get above the high angle rock, 2) a class 3 slab, 3) a class 2 traverse, 4) a class 3+ ascent on the final block. (Thanks!) Lastly, I found a ~5.5 crack system on the north side that looked reasonable if you could get a top rope anchored on the other side. The top of the crack would put you at the traverse on Bob's route, however the slabs were hollow and might break off. I had my rope and gear in the car, but out of laziness decided I would try Bob's route first and if I failed, I would go back and haul the rope up for Eric's route. I packed my rock shoes in and highly recommend them regardless of the route chosen. As Morpheus said, "There is a difference between knowing the path and walking the path."


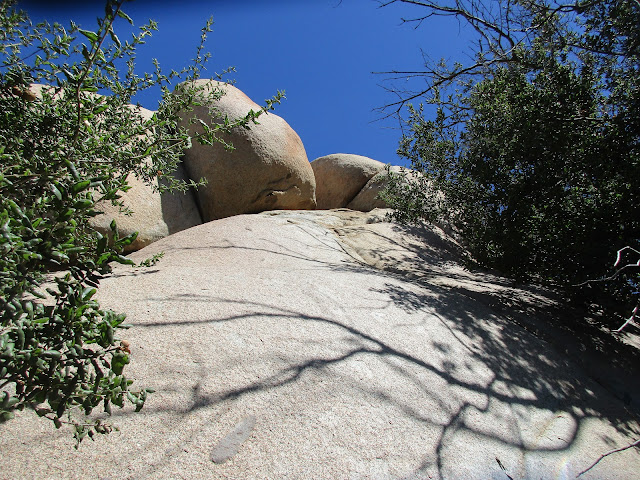
North Iron summit block from below


Table Rock and Mt. Ellie


Unroped summit block route

At the base of the tree below the North Iron summit, I ate some almond butter, put on my rock shoes and started climbing the tree. It was too far away from the rock for me to stem it as Bob had done. I literally went out on a limb, dismounted into a 60 degree crack and used the tree to pull myself on a 2' ledge about 15' above the ground. Even though this was the crux, the next section was not easy. A short friction move got me below the next slab where I briefly considered turning around. Did I really want to do this? After a short internal debate, I decided to continue going up, using an under cling on the top slab. The traverse was easy class 2 as expected along the south side to the base of the final summit block. This was the only section without serious exposure. While climbing over the traverse, my camera fell out of my pocket and tumbled over the precipice. I had dropped it on Peak 3339 only two weeks ago and this time it was finished. I found it later with the battery and memory card half ejected. It was not lost on me that a slip would have left my organs half ejected at the same crash site. I paused at the base of the final block and had another internal debate. There were decent holds on the final block but they weren't jugs. I only had another 20' of exposed class 3+ to gain the summit. My hesitation only lasted a few seconds but it seemed excruciatingly long. I still had my Ricoh Theta S 360 camera and it would have to suffice for the rest of the summit photos. I took a couple of 360s at the base, then started moving up again. The holds were plentiful but required attention. I was somewhat relieved when I topped out, but not exuberant. I knew I had to descend. The summit was larger than expected with plenty of room for several people. I stood and walked around, unable to locate Bob's register placed in April. When I saw the boulder and anchor on Eric's route, I wished I had come up that way so I could rappel down that way. I shook my head, took some 360s on the summit, then steeled myself for the descent. I started down with my left side to the rock. This was a pretty good compromise to maintain stability and still see the holds below me. It was a slow descent off the summit followed by an easy traverse back to the slabs above the tree. I thought getting back into the tree might be difficult, but I was able to walk myself down to a point where I could place my right foot between two branches, then get back on the main limb. A few moves later and I was back on the ground. I found my camera with splayed guts and put it back together. The shutter mechanism was broken. I used my phone to take photos the rest of the trip.


2' ledge at the top of the crack


Out on a limb


I climbed the limb on the right, then dismounted left into the crack


Lower slab section from the ledge


Looking down from the 2' ledge


Traverse section, just before dropping my camera (RIP)


Final summit block (screen grab from 360)


Looking north to Woodson (screen grab from 360)


Looking south to Iron Mountain and Ramona Overlook (screen grab from 360)


Camera crash site

I wasn't in the mood for the mild bushwhack up Mt. Ellie, but I did want to head over to Ramona Overlook Peak. I got back on the trail and followed it up to the point where the trail started to drop. There was a good use trail there heading to Ramona Overlook Peak. The views were awesome in all directions and I appreciated the walk up. I finally started to relax and sat down for lunch. After hanging out a while, I climbed the unnamed peaklet behind Ramona then headed back to the car. For the return trip, I followed the trail south of Mt. Ellie and it eventually curved back to intersect the starting trail. Despite the struggle, I was happy to have some iron back in my diet, even if it was San Diego iron. I was also happy to get the summit block. If I ever climb it again, it will be on Eric's roped route.


Approaching Ramona Overlook Peak


View from Ramona Overlook Peak


A quick look at the other possible routes...


Eric's route, the boulder that must be lassoed from the class 3 ledge

Update: 12/16/2017
I returned with my friend Terry to attempt the roped route. We climbed on the large slanted boulder and spent 45 minutes trying to lasso it. We each tried many times with no luck. I had some webbing attached to the rope. We might have been able to get it with just the rope, but I was concerned the rope might get cut by sharp, unseen edges. The bottom line is we failed on the roped route.


The hollow crack system on the north side


Would you like to know more...?

Other Trip Reports:
North Iron Mountain, Mt. Ellie, Ramona Overlook Peak (Bob Burd)
North Iron Mountain (Peaks for Freaks)