Hiked: 5/12/2017
Distance: 4.1 miles round trip on dirt road
Summit Elevation: 2448'
Prominence: 928'
Elevation Gain: 1250'
Elevation Gain (in Empire State Buildings): 1.0
Round trip time: 1 hour 20 minutes
Recommended water: 20 oz.
Parking/Fees: Free on Westwood Street
Difficulty: Easy
I was looking to break in some new boots in preparation for hiking Hawkins Ridge the next day so I headed for Blue Mountain, a small peak in Riverside County north of Box Springs Mountain. There are a couple of trailheads for Blue Mountain. I drove to the one at the end of Westwood Street north of the mountain. There are actually two Westwood trailheads and I parked at the unfriendly one. The gate to the start of the trail was covered in No Tresspassing, No Parking, and Closed! signs. So I continued past the gate onto a wide dirt road with long switchbacks.
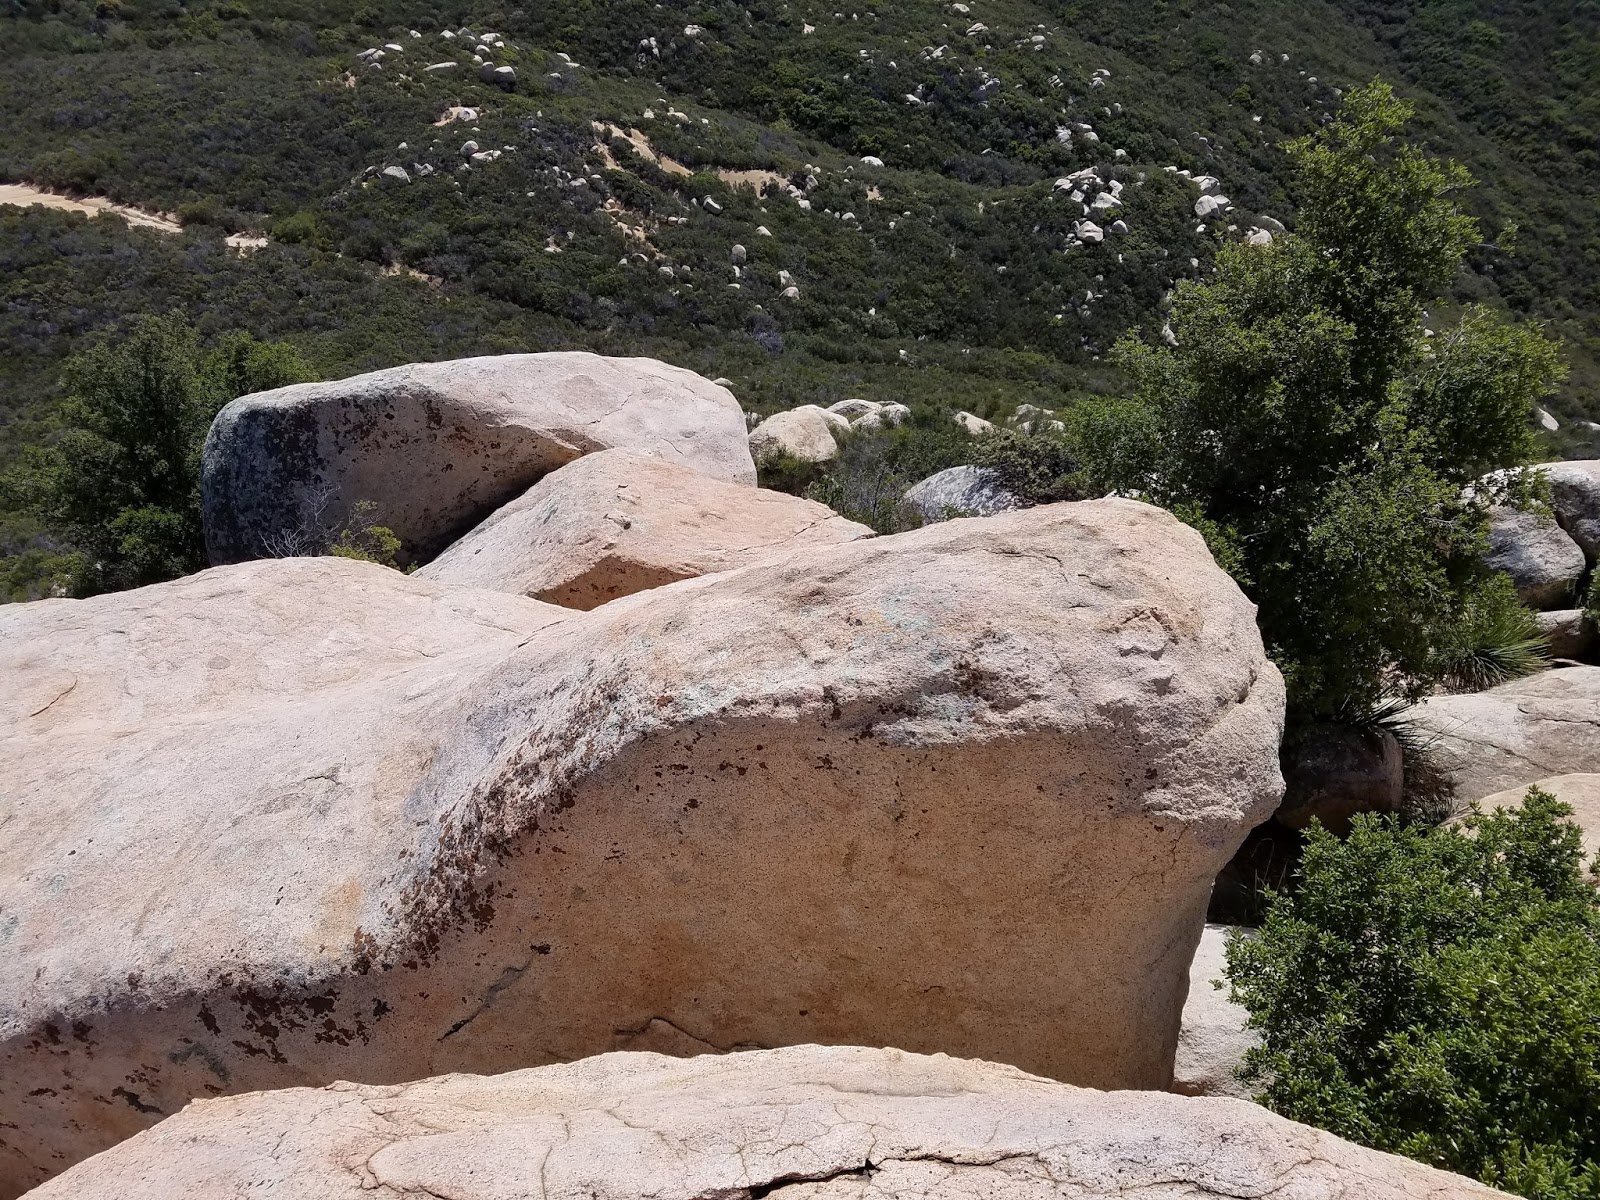
A steep use trail was available as a shortcut near the start, but I opted for a little extra distance since I was breaking in boots. Hazy, smoggy views opened up of Box Springs Mountain, the Santa Anas, and San Gabriels as I gained elevation. The combination of "May gray" and smog muddied what were probably very nice views. Interesting boulders lined the trail or were just off trail, but I marched to the summit without stopping in about 40 minutes. Other trip reports mentioned that all the benchmarks were missing. I found the missing mount points while taking some photos. Some kind of shrine was set up for Ralph Granillo. His online obit turned this up: He was an avid walker of Blue Mountain where he was known as "The Legend". RIP. After poking around the Blue Mountain summit a few minutes, I continued south to the Highgrove benchmark area where I got an even better view of Box Springs Mountain. On my return trip, I passed several other parties on their way up. I stopped to check out a large granite boulder with loose climbing anchors bolted into the top. I climbed it on one side with an easy class 2 route. The bolts were for the 25' vertical face on the other side. Frankly, none of the bolts seemed secure and I wouldn't trust them. At the end, the boots didn't seem to cause any discomfort, though the real test awaited. Blue Mountain was a fun urban hike, one of several in the UC Riverside area.
Unwelcome start
Summit not visible at the start
Switchbacks on a wide track
Nearing the summit
Box Springs Mountain and Saddleback distant right
Missing benchmarks on Blue Mountain
Shrine to Ralph Granillo
Box Springs Mountain from the Highgrove area
Looking down from the large granite boulder, about half way down
Hiked: 5/4/2017
Distance: 1 mile round trip on dirt road and cross country
Summit Elevation: 1759'
Prominence: 439'
Elevation Gain: 575'
Elevation Gain (in Empire State Buildings): 0.46
Round trip time: 1 hour
Recommended water: 40 oz.
Parking/Fees: Free on unnamed dirt road
Difficulty: Easy
Fresh off my hike to Alligator, I drove about 60 miles east along I-10 to the next geological oddity near the road: Dome Rock. The official USGS name of this mountain is Sugarloaf Peak, part of the Dome Rock Mountains, but it is locally known (and signed) as Dome Rock. The Dome Rock Mountains run both north and south of I-10 with higher mountains on both sides, but Dome Rock is an interesting and somewhat prominent feature from the road. It is a great mound of dirt capped with a jagged, round dome of volcanic rock. It looks technical from the north, but a class 2 gully cuts the dome from the southeast.
Dome Rock from the road
Serious desert temps
Dome Rock, starting from the east
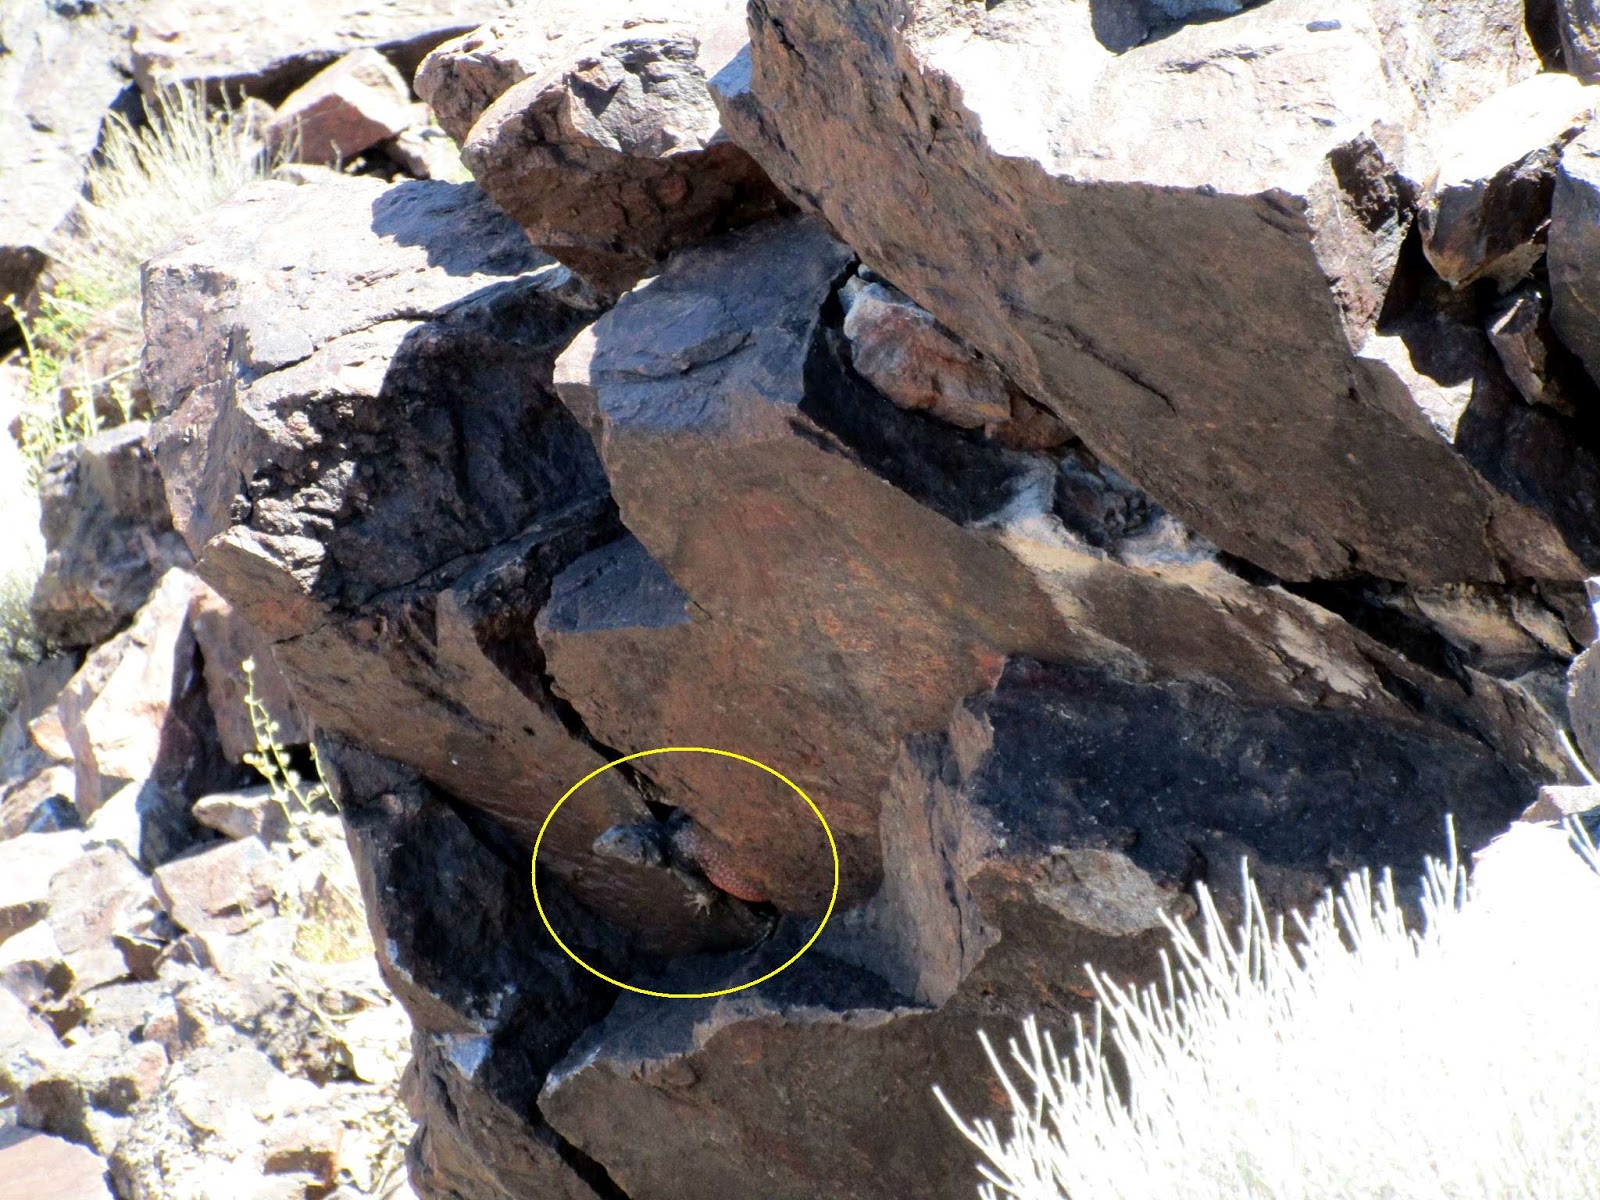
Traveling east on I-10, I took exit 11 on the paved Dome Rock road, then followed unnamed OHV dirt roads and trails to the east side of Dome Rock between it and peak 1911. The roads were not very good, but they also weren't deep sand like around the Alligator. 4x4 was not required, but I recommend high clearance. A sedan might be able to make the trip, if driven slowly. When I reached the starting point, the temp had risen to 100 and it was approaching the hottest part of the day. This trip was expected to take about an hour with some scrambling, and I decided that if I started to overheat, I would turn around. I wasn't sure where the ascent gully was so I headed up the road toward a south side ridge. As I got closer, I spotted the gully east of the ridge, so I left the road and headed toward the gully. Half way up, I found a single boulder large enough to throw some shade and stopped under it to hydrate. My core temp seemed fine, so I continued up. The gully got steeper as I ascended with loose rocks testing my balance. I stopped at the first class 2 section because the rocks were too hot to touch for more than a second or two. I anticipated this and put on gloves before proceeding. The last 100' or so was steep class 2. I made one class 3 move that was not really necessary before topping out. There were a couple of tall rock cairns on the summit and a register in a plastic jar stuffed with loose pieces of paper. I found a blank one to fill out and laughed at some of the other entries. There was no insect swarm to drive me off the summit so I took a little time to enjoy it. The desert views were striking and I was glad I made the effort. While returning, I saw a chuckwalla with a red-orange body on a rock below. We sized each other up, then he ducked between two rocks for cover. He was in an awkward spot, but I did my best to get some good photos of him. Mr. chuckwalla was icing on the cake of an already fun adventure.
Hiked: 5/4/2017
Distance: 0.5 miles round trip cross country
Summit Elevation: 1267'
Elevation Gain: 250'
Elevation Gain (in Empire State Buildings): 0.2
Round trip time: 25 minutes
Recommended water: 16 oz.
Parking/Fees: Free on unnamed dirt road
Difficulty: Easy
The Alligator is a long, low ridge that looks like an alligator's back. It is just south of I-10 near Desert Center. I've made several trips from Orange County to Phoenix in the last couple of years since my daughter is going to college there and the alligator is one of several interesting geologic features that always grabbed my attention. I was on the way to Phoenix to help my daughter move home for the summer, and I was solo, so I took the time to stop and bag it. I took exit 192 from I-10 for highway 177, then turned south on an unnamed dirt road. The road consisted of deep sand and I immediately went into 4x4 mode. I would not try this road without high clearance and 4x4. I drove to a spot just north of the summit, only a quarter mile away and started off cross country. Early May is not the best time to be desert peak bagging and my car temp gauge read 99 degrees. I thought with such a short hike, there would be little danger from the heat. I picked my way up the volcanic ridge facing nothing worse than class 2 on the north side. I gained the top of the ridge a little north of the summit and worked my way over the basalt spine to the benchmark. I wanted to sit and enjoy the view a few minutes, but the summit was swarming with flying black ants. They were not in the mood to share the summit. I snapped a few quick photos, then started to descend on the south side while batting the ants that landed on my neck, arms, and face. The south side of the summit took a little more care to traverse but soon I was back to the truck. It was a fun, short jaunt that scratched the itch I had to climb it.
Update 6/11/2024: Many of my photos disappeared from blogspot, so I deleted their references. Weird.
Hiked: 4/28/2017
Distance: 16 miles round trip on road, trail, and use trail
Summit Elevation: 4510' (Los Pinos), 1590' (Peak 1590)
Prominence: 610' (Los Pinos)
Elevation Gain: 5423'
Elevation Gain (in Empire State Buildings): 4.33
Round trip time: 9 hours 15 minutes
Recommended water: 192 oz.
Parking/Fees: Adventure Pass
Difficulty: Strenuous
It had been a long time since my last grueling training hike, so I lined up Los Pinos Ridge in the Santa Anas. I need to do high mileage/gain from time to time to stay in the game, both physically and mentally. This hike, with a bonus peak at the start and almost 1000' of gain on the way back, was a firm test. It is best to do this one before it gets too hot because the ridge seems to reflect and magnify heat. There was very little shade and no water. The major ups and downs reminded me of the main trail to El Cajon in San Diego county, just bigger. It is easy to underestimate this hike.
The hike starts at the San Juan Trailhead off Ortega Highway. The Los Pinos Trail starts about half a mile up Hot Spring Canyon Road in the private in-holding of Lazy W Ranch, just past the archery range. Technically, you need permission from the Lazy W Ranch to use their road to get to the Los Pinos trail. I called their number on the way (949-728-0141) and the person I spoke with was very nice about granting access. They don't really care who hikes the trail, but want to be informed. Jerry Schad listed this ridge in his Afoot and Afield in Orange County book as a 10 mile one way trek starting from Blue Jay Campground, over Los Pinos, then descending the ridge. He gave the one way descent his toughest difficulty rating. Schad's write up mentioned that the trail was overgrown, but it was mostly clear except in a few spots. I walked through the Lazy W not seeing anyone and headed up the signed trail. In less than a mile, I reached a saddle where a use trail on the left went to Peak 1590. I decided to do this first, knowing I would not feel like the side trip on the way back. I dropped my pack, taking only a pencil in case there was a register in need of one. I ascended the good use trail about 350' to the summit where I found no register or marks. From the summit of 1590, I could see Los Pinos far up the canyon and knew I was in for a grind. Once I got back on the Los Pinos trail, I noticed some inspirational signs probably placed by the camp. The signs disappeared near the top of the first bump. The ridge trail rolled up and down, then through an overgrown grassy field before reaching the first of three major bumps. I picked up dozens of fox tails from the grass and had to step carefully in case any vipers were in my path. None were. The trail that switchbacked up the major bump looked very overgrown so I took a steep, direct use trail instead. I continued up the ridge to the peak where the ridge turns west. Just after the turn, I stopped for a break and dropped a water cache for the return trip. Half way to Los Pinos, I was already drenched in sweat and tired.
Start of the trail
Early steps
Peak 1590
Remains of an antenna on Peak 1590
Los Pinos from 1590, about one light year away
Overgrown grassy section below first major bump
Bell Ridge, Santiago behind
Approaching the 3rd major bump
During my break, I noticed a tick on my leg, not yet attached. I ended up killing three ticks before the day was over. The next part of the trail led up to the most prominent bump at 3907'. On the other side, it dropped more than 300' to a saddle before going up again. The constant up and down was a mental drain, giving up gain, then climbing again, over and over. Finally, the end was in sight. I had three minor bumps to overcome to get to Los Pinos. I don't know if it was the heat, but I felt a half-step slow all day. When I reached the summit, I signed the register. I planned to finish the sandwich I brought, but there were a lot of flies on the summit, so I decided to descend to the first attractive boulder and eat there. Along the way, I started feeling overheated. It was killing my appetite. I found a small bit of shade and forced most of the sandwich down before going on. In addition to the 3 major bumps on the way back, there were 4 minor bumps, and several I didn't count. I humped it over the major bumps and rested again at the water cache. I checked my thermometer and it read 90 degrees. It was at least 5 degrees above the expected high in Rancho Santa Margarita. Heat reflection. I took time to clean out my shoes and continued the descent. I was glad I had done Peak 1590 at the start. It was a relief to get back to the car. This was my third and toughest summit of Los Pinos in Orange County. I had now climbed it along all three major ridge lines, completing the "Los Pinos triad": the West Ridge (standard route), Bell Ridge, and Los Pinos Ridge. It was a nice day and a great training hike despite the suffering -- although I guess that was the point.
Descending the 3rd major bump
Weird marker at a minor bump just below Los Pinos
Final stretch
Summit! But a lot of work to do to get back
Newest register, added by Sierra Club notables
Long ridge back (right), Old Sugarloaf looking pointy (left)
Smartly colored horned lizard
Trail maintenance shovel on the way back
The Triad: West Ridge (green), Bell Ridge (yellow), Los Pinos Ridge (red)
Hiked: 4/14/2017
Distance: 7.6 miles round trip on trail
Summit Elevation: 3227'
Elevation Gain: 1507'
Elevation Gain (in Empire State Buildings): 1.20
Round trip time: 4 hours 15 minutes
Recommended water: 72 oz.
Parking/Fees: Adventure Pass
Difficulty: Strenuous (class 5 summit block)
One of the first Lower Peaks I hiked four years ago was Sugarloaf in the Santa Ana Mountains. The Sierra Club guide mentions a class 5 summit block. With fledgling rope skills, I felt an obligation to return and stand on the summit block. I upgraded the rating on this hike to strenuous since it includes carrying the weight of the climbing gear out and back, and climbing the summit block. I parked at the small turnout near Blue Jay campground, taking the same route to Sugarloaf as I did in 2013. Since my last visit, the road had been repaved and was in great shape. I started down the San Juan trail staying left at each side trail leading up to the campgrounds. At the first 4-way junction, I turned left, though going straight would also get you to the next 4-way junction in a more leisurely and shaded way. At the second 4-way junction, I continued straight dropping down to a series of glades near Chiquito Spring. This is probably the most scenic part of the hike. I saw two mule deer in the glade but they bounded away too fast for my camera. Poison oak was heavy along the trail through Chiquito Spring, even intruding in a few places. The trail then started to grow more rutted showing heavy mountain bike use. I passed 8 bikers on the day, 4 out and 4 back. By comparison, I only met 3 hikers. When I reached the use trail to Sugarloaf, I followed it to the summit area and unpacked my climbing gear. I took a few pictures around the summit boulders and scrambled up the class 3 lower boulder to look at the air gap. The lower block is only about 4' lower and is separated from the higher block by a 4' air gap. It is possible to make the leap to the higher block, but there is no margin for error. After I completed this hike, I found a picture of my friend Brad Stemm on the summit and jumping back from it on Patrick O'Neills blog. A slip or bad landing might lead to a 15' "plinko" between the two blocks, banging your head multiple times on the way down. A successful jump requires a risky leap back to the lower block. I wanted no part of it my first trip and looking at it again, decided that using a rope was safer.
Sugarloaf from the start
One of the lush glades near Chiquito Spring
Use trail start
New summit sign, highest boulder in the back middle
West face, shortest ascent line of the class 5 boulder
Air gap from below, between the highest (left) and 2nd highest (right) boulders
View of the gap from the 2nd highest boulder
Standing on the edge of the lower boulder looking at the highest boulder across the air gap
I circled the highest block looking for the best anchor locations and ascent lines. The boulder is strangely shaped, kind of L shaped. The shortest line was up was the west face, about 15' and also the most convenient to climb. There were tiny imperfections in the rock that might serve as holds. I checked out a few boulders on the opposite side for anchors, but one was rotten so I decided to use two healthy trees instead. I threw the 30m dynamic rope over from the ascent side, (it took three tries), then I rigged the anchor with 1" nylon webbing and two carabiners. I returned to the ascent side and geared up. I attached my harness to the rope with a prusik for protection, and rigged a second to use as an aid if needed. I made a couple of attempts to start up using only rock holds, but the rock was not vertical. It was a little more than 90 degrees, and tilted back at me in a slight overhanging angle. I could not stay on the holds for more than a few seconds. I fell back on my 2nd prusik for aid, but as I stepped down, the dynamic rope stretched and negated much of my effort. I should have brought the static rope I used on Squaretop. Eventually, I was able to struggle up enough to get a foot hold on the rock. Then, I used upper body strength to pull myself close enough to swing my left leg over the lower part of the summit and pull myself the rest of the way up. It was probably the ugliest climbing I've ever done. First class ugly, but I got to the top. The summit was big enough for several people. Layers of rock were flaking off the very top. The views were great and I took some video and photospheres to enjoy later. There were no official marks on top and I didn't expect any. After a short celebration, I realized I left my belay/rappel device in my bag below and would have to rely on the prusik to get down. I learned another important lesson today -- always rappel from summits if possible. I had re-positioned the rope to what I thought was ideal for friction, then slid toward the edge. As I started to go over, the prusik hung on the lip and I was stuck. I had to find purchase on the rock with my feet to ease the pressure on the knot so I could slide it down. I worked it free and lowered myself further. What happened next, putting a positive spin on it, was a semi-controlled rapid descent to the ground. I came down quickly through part of a tree into a sitting position on a small boulder at the bottom. I took a quick inventory of body parts and found no major damage. Whew. I did have a pretty bad rope burn on my left hand from the rapid descent. I was surprised the prusik did not bite past the lip. It might have gotten tangled when I tried to free it. Anyway, I should have combined it with an arm rappel and not relied solely on the knot. A teachable moment. After a brief rest to catch my breath and sign the register, I gathered up my gear and started the hike back. Despite two aspirin, my hand screamed at me all the way to the truck. The class 5 summit boulder was more difficult than I expected, but it was worth it to nab the true summit block. I left a good-natured comment on Bob Burd's site prodding him to come back and climb it, but he may not have taken it that way. The comment is gone. I am sure he would do a better job climbing it than I did.
anchor
Looking up the rope from the ascent side
Rope coming off the back side to the anchor
Climbing the rope more than the rock
Over the edge
Looking back over the ascent side
Old Sugarloaf from the Sugarloaf true summit
Looking at the air gap back to the lower boulder
Looking south to the summit area, register can is underneath the large boulder